Today we did another American Revolution game at our club, I haven't been able to work out a post Valley Forge army yet, so we were still in 1777!
I got the initiative again, but I would have preferred the British had it as it gave them the best side of the table!
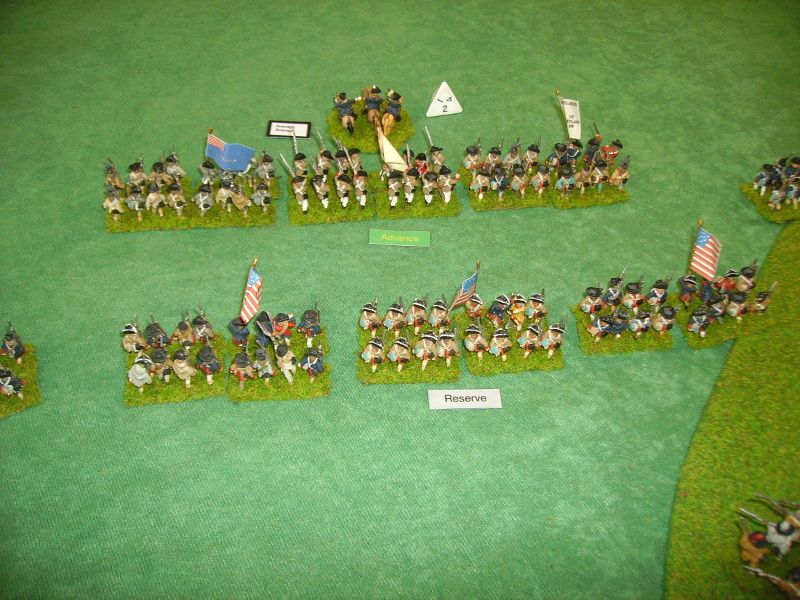
The armies deployed on a rather...open...terrain.

Lawrence, once again in charge of the Hessians deployed in 2 lines.

Phil, as the British commander, had a lot of infantry ready to take a low hill.

On his right, he had his light troops, with Grenadiers and Light Dragoons.

My left had some light infantry and Dragoons, supported by Pennsylvania Continentals and some Militia.

My centre was solidly Continentals...

...as was my right, though I had 4 Battalions of Militia in reserve.

My left had a Competent commander, though I left Washington nearby to help him as he was facind the cream of the British army.

Lord Howe was Competent too, though Indecisive today!

I marched my Militia on the left to support my Light infantry and Dragoons.

I hoped my Light Dragoons would catch the Light Infantry in the open.

My Marylanders in the centre began advancing on the Hessians.
The right deployed out to try and extend the Hessian line.

The Hessians seemed happy to await my arrival!

Screened by his rapidly advancing Grenadiers, the British Light Dragoons went into the farm complex.

The rest of the British seemed to be advancing in a rather haphazard fashion.

Overfaced, I withdrew my Light Dragoons.

My Virginians advanced to stop the British outflanking my Centre.

My Continentals on the right were delayed by their inability to manoeuvre rapidly!

The Hessians opened up with their artillery...

The Marylanders were basically undisturbed...

...though a little disorder was in evidence!

Phil nor surprised everyone by advancing a brigade off the hill to outflank the Maryland brigade.

On my left, my Light Infantry were skirmishing with the British.

The British right was sorting itself, covered by their Light Dragoons.

I advanced my Militia to threaten the Dragoons, something of a bluff, I know!!!

Two Virginia regiments were slowly moving to support them.

My Marylanders were forced to turn...slowly!...to face the British attack from the hill.

I moved another brigade to threaten their flank.

I got my Artillery in position, screened by my riflemen.

My Marylanders initially came off worst in their exchanges with the Lobster backs!

On my left things went from bad to worse, when the British Light Infantry charged my Light Infantry, who 'flinched' and retreated, being caught by the fierce British right in front of my guns.

My men Routed, of course, and the British made my gun crews abandon their pieces.

In the centre, my Marylanders were hitting back.

My artillery opened up on the Hessian second line as they marched in column to extend their line.

Even at this long range, they took losses.

My Virginians were enfiladed by British guns, which took a heavy toll on my brave men.

The British facing my Marylanders, faced with a brigade on their right, began to fall back, though a final volley caused more losses on my left hand regiment.

My Militia bumped into the British Grenadiers! At least they didn't Rout!!! At the back you can see my Light Dragoons charged the British Light Infantry.

In the centre, the British closed to point blank and my Virginians took heavy losses, being driven off in disorder.

At least on my right, my artillery was ripping into the Hessians.

My Light dragoons were beaten by the British Light Infantry, but both sides had taken heavy losses.

At this point, it was obvious to me that the British had won on their right, and I was unable to win in the centre...

...and right.

I therefore signalled the retreat.

Another American defeat, though not a bad one!
More importantly though, we all enjoyed the game!


