Welcome!

Welcome to the Blog of a Skirmish wargamer! I hope you enjoy reading it!


All my rule sets are freely downloadable from our club website's Downloads page


If you need to contact me my E-Mail address is richardbradley5@gmail.com


Saturday 28 March 2015

Powder Monkey 2 - our first try out!

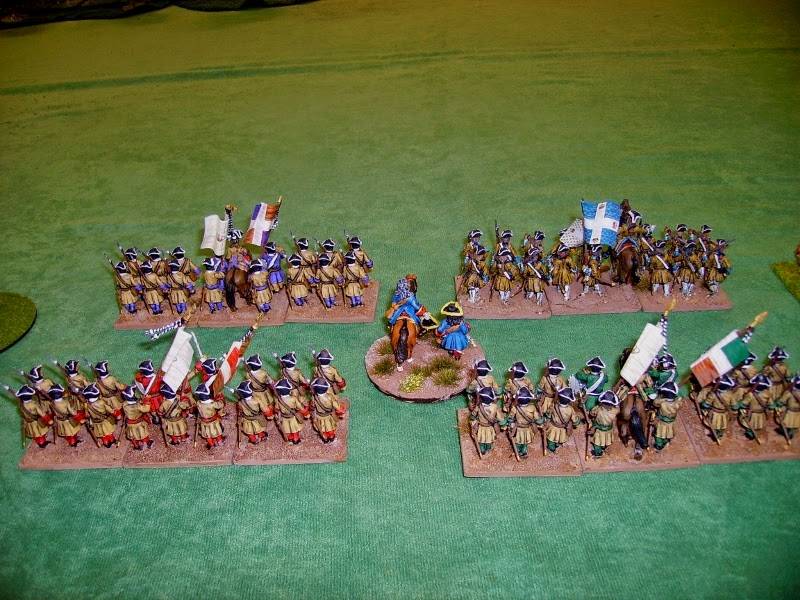
Today, we tried the modified version of my 'Powder Monkey' solo rules for Sails of Glory Napoleonic.
I had intended to give Ian a gentle introduction to the game for his first time, but as usual.....
Phil turned up, not unexpectedly,
A nice chap called Andy, came in looking for a game,
Lawrence, who had been unwell overnight, also came!

So we had 5 players! - as I wanted the French to be run by the solo system, I was running out of ships for them to command!

I therefore opted to just run the solo French, Lawrence and Andy got English '74s while Phil and Ian got English first rates.

So after a brief explanation of the rules to the new guys, we started.


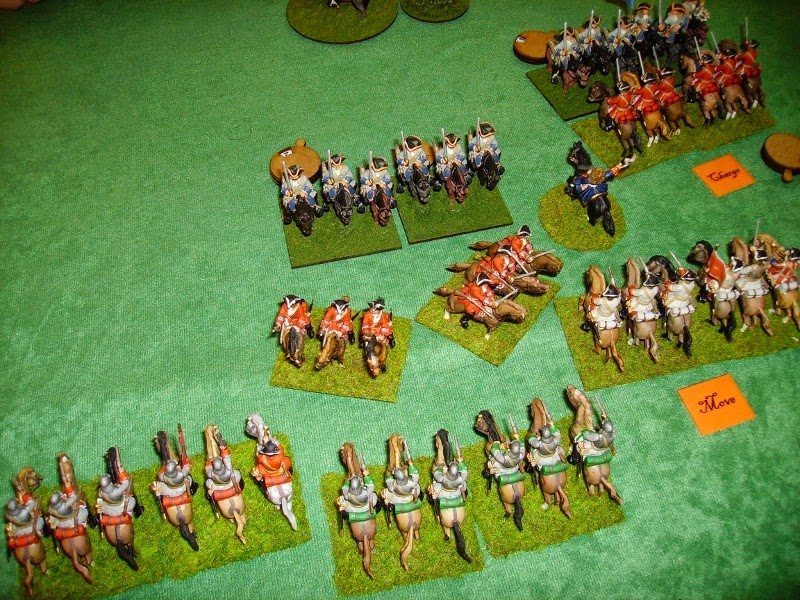
The French had 3 1st raters, and a Spanish 74.
 As normal, they started sailing close to the wind.
 The English had their 2 74's forward, and started upwind of the French.
 Both flotillas closed quickly.  
 As the fleets met, all the English turned upwind and 2 ships hit the Commerce de Marseilles, causing leaks and a fire! 
 Commerce's return fire caused only light damage on one of the English 74's. 
The next turn, no-one fired, the French turned downwind to shoot and got 3 ships firing against the 2 74's.
 Little damage was caused on either side, and the crews feverishly reloaded.
 The English first rates tried to turn to rejoin the action.
The French now tried to gang up on HMS Superb, but only the Spanish Argonauta got a stern broadside. 
The English first rates were struggling turning into the wind. 
 ...but eventually sorted themselves out!
 Commers now shot Superb, Superb hit Republique de France, causing 2 fires and 2 leaks! The French crew would be busy!
 Le Berwick got a shot at one of the English 1st rates.
 Having reloaded, Argonauta hit Superb with a stern rake.
 Republique got another stern shot at Superb.
  Poor Superb was almost destroyed by now...
 Le Berwick finished the job! Superb struck her colours!
 Commerce de Marseilles found herself isolated, and being hunted by 2 of the English ships.
The French now got into a good position against HMS Vanguard.
 Commerce was in an odd position being chased downwind, and began fish-tailing. The Veer difference slowed the weave, but I felt it appropriate to replace a reverse weave the solo system generated with a sharp right turn.
This made far more sense.
 Vanguard was running rings round the French now, and manoeuvred the heavily damaged Republique de France off table.
 Argonauta, Le Berwick and HMS Vanguard now traded shots.
 At this point, more of the French ships, which were all moderately damaged, would leave the table, so it was decided the English had won! --though all the French escaped!

So, as a playtest, what were the results?

It certainly proved PM2 is less likely to produce a fish tailing weave when enemy ships are in their rear arc, but as the Commerce showed, it is still possible. There is no real way of stopping this by a rule change. I recommend what I did in this game.
If a ship gets stuck in a weave, replace an odd manoeuvre card with a different one which:

(1) Takes the solo ship closer to the enemy.
(2) Does not send the solo ship into the red zone (going upwind).

This works a treat and makes the system play better. I do not think any solo system would be possible for SofG which could work perfectly in all cases without being impossibly complex.

I am still happy with the system, as it seems to make a challenging opponent!
I hope you feel the same!

Sunday 22 March 2015

A last playtest for BTLB2?

Yesterday, we did yet another playtest of Beneath the Lily Banners. Having scrapped the 'Support' rule in the Morale section of BTLB and introducing our own:

Supported: Having 2 units of your own brigade (not if they are routing/retreating) within 6" if infantry, 9" if horse.


Neither Supported or Isolated: Having a single friendly unit (as above) within 6" if infantry, 9" if horse. This may be from the same or a different brigade.


Isolated: Having no friendly unit, or only friendly units which are routing or retreating, within 6" if infantry, 9" if horse.

We were hoping this simple change would finally sort out the game for us!

The game was designed for the six people we were expecting. However, Phil and Rod decided to watch Newcastle United lose instead!!!

Ken, chatting with Ian. They commanded the 'Confederate forces'.
The battlefield, the confederates chose to deploy on the clear side!
The far side of the table was woody, so deployment would be difficult.
The Confederates: A Danish Horse brigade on the left.
A field gun, with an elite Danish Horse brigade to their right.
Ken's 'Imagi-nations' foot brigade...
Very prettily painted!
Lacking infantry, Ian borrowed 4 of my French battalions- Royal Italien, Salis (Swiss) Dillon (Irish) and Greder (German).
To their right, an Austrian infantry brigade...
...flanked by an Austrian Kuirassier brigade on the far right, behind a wood.
Opposite them, the Anglo/Franco Bavarians deployed with a British brigade on the left, 2 French brigades holding the centre...

I did not deploy anything in the dense wood on our deployment edge!
To its right,however, a field gun, 2 brigades of Bavarian horse, and the French cavalry completed our deployment. Like Prinz Eugen opposite, Marshal Villers deployed his artillery to support their main cavalry wing.
The first turn saw both sides get a minimum 1/4 of units able to move!
The Austrian gun fired...

 close but no 10's...
The advancing Gendarmerie went unscathed!
The English infantry advanced too, to prevent the Austrian kuirassiers turning their flank, unsupported as they were by cavalry of their own.
The Danish foot opposite the Gendarmes remained halted.
The traitorous ex French also advanced against our centre, but not much else happened this turn! 
The British advance went unhampered by...
...any Austrian movements.

Finally, I was able to advance some of my French infantry, led by 2 battalions of the Gardes Francaise.
Ken's Imagees and some of La Legion des etrangers moved to attack my French. Things were hotting up! 
The Danish horse seemed happy to let their gun do all their fighting...
Nyah! 2 hits!
The Gendarmes de Flandres panicked and diced to retreat.
Another volley halted the Gendarmes Anglais next turn...Ken's shooting was phenomenal!
Marshal Villers and general Zurlauben were running out of Gendarmes to attack with!
Next shot though...two 1's

 saw the Austrian gun misfire!
Back in the centre, the Anglo French were aligning with the Confederate infantry. The Austrians were deployed sacrificing depth for width.
I reserved my right wing infantry to prevent the Imagi-troops outflanking me!
Finally, I got to advance my Bavarians.The Gendarmes took advantage of the lack of Austrian artillery to advance too.
The (so far!) untouched Gendarmes Ecossaise now charged the Danish horse, who also charged.
The Danes held the rest of their squadrons back.
Sadly (for us!) - The Austrian gun cleared and began pounding us again!
In the centre, the Confederate Swiss and Irish engaged the French Guards.
The British waited for now, to see if the Austrians would attack.
The French Gendarmes, meanwhile, easily routed their Danish opponents...
..and chased them off the table!
The French Guards began to beat the Confederate infantry opposite.
Back on the cavalry wing, one of the Bavarian brigades moved to attack the Danish guard cavalry, my field gun, having not fired yet, moved to enfilade Ken's infantry.
The French generals advanced to support the coming cavalry clash
Vive la Roi!
In the centre, the French Guards here holding up well.
The Confederate foot were losing more.
Back with the cavalry, the Gendarmes de Flandres failed to charge, and were wiped out by their Danish opponents.
The other units routed the other 2 squadrons though!
Despite taking losses from the #?/*+*# Austrian gun! - My Bavarian horse moved to wipe out the last Danish squadron.

My last brigade now began trading shots with the Italians, and one of Ken's battalions.

We won again! The Italians became shaken, this was my chance!
 La Marine charged with the bayonet, and the Italians broke!, the lack of a second line now left a hole in the Confederate centre.

This was the end for the Confederates, as the British infantry advanced and began to outshoot the Austrians, with the French winning in the centre, and the 2:1 advantage on the cavalry wing enjoyed by the Franco Bavarians, they wisely decided to withdraw.

I think we are pretty well sorted with the rules now, the Support rule modification seemed to work, and we had a good game!

Never harms for my French to win either!!! (At least now and again)