Today, I did another Stargate skirmish game, I decided on a simple scenario, with an SG team being detailed to reconnoitre a Goa'uld air base, which intelligence had identified as being a threat to friendly rebel Jaffa in the vicinity.
My SG team SG-13 consists of Major Dixon, Dr Balinsky, Senior Airmen,Wells and Bosworth.
The Stargate on PMX-2244

A fountain of light fills the circle...

...a pool of light settles out.

A device moves through the pool, appearing as if from nothing.

It parks near a small structure.

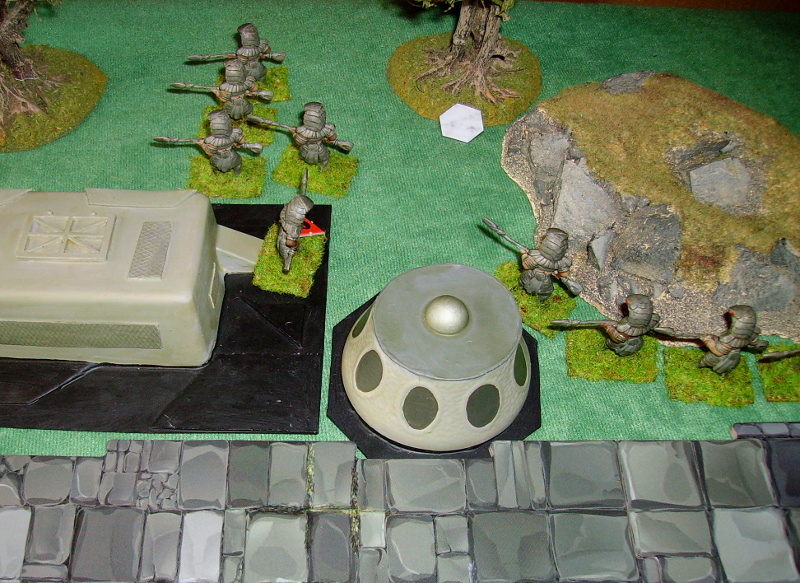
A few minutes later, four figures appear from the pool.

Alongside the runway several Portal Markers can see the arrivals.

Several are high denomination (2 '3's and a 2)...

...but a '1' on the D6 means the SG team arrives unobserved!

They rapidly move to cover down the right side.

Unfortunately, they are spotted by a group of four Serpent guards.

"Kree tal shal mak!"

Wells and Bosworth stay to face them...

...Dixon and Balinsky move round the flank.

Two of the Jaffa are pinned by...

the Tauri fire.

Four more Jaffa appear to support the first group.

The situation demands that Dixon and Balinsky join the battle!

The outflanked Jaffa are stopped!

They fall back to cover, barring one who is still pinned in the open.

Another six Jaffa, alerted by the battle, move to counter attack.

To avoid any more Jaffa joining the attack, Dixon falls back to cover.

What to do now?

A quick flurry of fire and a fast move!

Dixon sets up a 'kill zone'

Two annoying Portal markers are dislodged.

The Jaffa reach the original position held by SG-13.

Two Jaffa are stung by MP-5 rounds.

Another Jaffa is killed by Dixon.

The Jaffa in the open are left largely in the open.

The rest of the Jaffa move to attack Dixon's team.
SG-13 set up their fire position.

The Jaffa are hit hard.

The Jaffa only manage to pin Wells.

The second wave of Jaffa attack!...

...meet the same fate!

The only remaining Jaffa are the ones across the runway...

...and the few remaining from the big attack.

The final Jaffa is quickly despatched.

The final Jaffa attack crosses the runway.

They rapidly fall as Dixon redeploys to face them.

SG-13 now moves to clear the Portal markers along the runway.

The first sweep drives them across the runway, Dixon keeps the team out of sight of them, thus preventing more Jaffa appearing.

Dixon sends his team to clear the far side.

With those markers destroyed, the team moves towards the Stargate.

Dixon and Balinsky Go over the runway after one marker which displaced there.


The last Portal markers are now behind the Gate, and are soon destroyed.

The possibility of other Jaffa appearing now ended, the team prepares to depart.

Dixon opens the Iris with a few deft button presses, while Bosworth moves the M.A.L.P. towards the opened gate.

They are too expensive to leave behind, aren't they?

Three of the team now retreat through the Stargate...

Wells follows, but before going through, he presses a button on his hand device.

Kabooom!

Mission complete!

(PS: Kree tal shal mak! roughly means 'Identify yourselves')