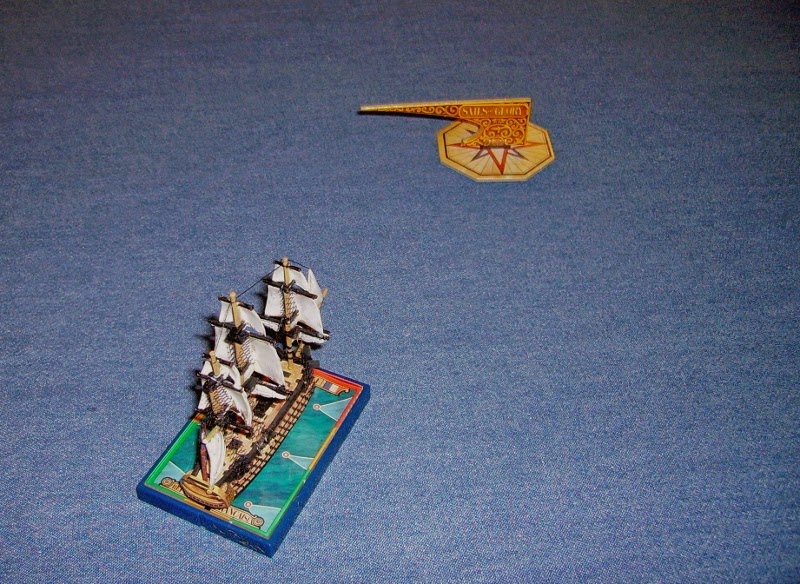
Welcome!

Welcome to the Blog of a Skirmish wargamer! I hope you enjoy reading it!


All my rule sets are freely downloadable from our club website's Downloads page


If you need to contact me my E-Mail address is richardbradley5@gmail.com


Saturday, 13 December 2014

Valhalla - our first try out

Today, true to my promise at Battleground, we did a try our of Valhalla.
It is a very easy to understand set of rules which, we discovered, had levels that needed to be understood regarding command and control not immediately apparent!
It really needs some time on a computer to upload pictures of your soldiers and create a warband.
Not having done this, we used the precalculated figures available from East street games website, where you can also freely download a PDF of the rules.

So, rules read and warbands downloaded, we started the trial game!


The battlefield we would fight over. 
 These are the standard Viking sheets. The warband is divided up into 'Benches' - of 4-8 figures who fight together in the game. 
 I found one error in the Saxon charts! - an amazingly tough  peasant archer we nicknamed 'Conan the Bowman', I made him less tough for the game.
Having no Saxons, my Normans had to fill in!
 Vikings...we had!
 We decided to test the game in a straight fight across the table, rather than working out a scenario. We started stationary, and came to regret it!
My first move saw my warleader order the other warband to take and hold the hill in the middle of the table...Success!
Lawrence, leading the Vikings, had less luck, scoring a 1 - which allowed the Saxons to order his other warband to go to the table corner!!!
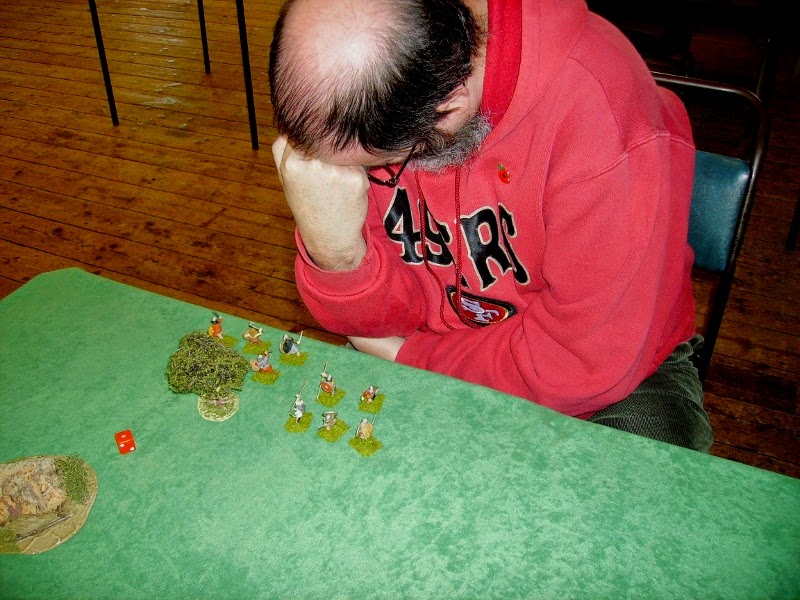
Aaagh! 
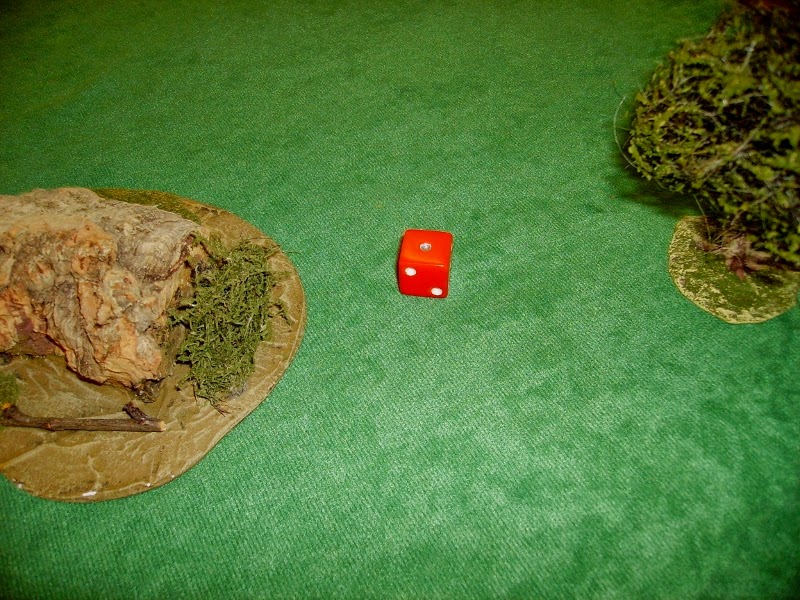
Next turn, I managed to get a 2 on my order to my own warband, which meant it fell back 6 inches.


  As with me, Lawrence got another 1 when he tried to get his errant warband back, and it completed its move to the corner!
 I, meanwhile, managed to get my men moving. Having spent 2 of my 3 actions doing this, I got left behind!
Next time, a 'follow me to that tree' might work better!
Ians Saxons had reached the hill they were ordered to 'Take and Hold', my men now moved to cover their flank.
 Lawrence sent his warleader closer to his men in the corner in the hope of getting them into position again!
However, his men had been ordered to follow him, so he ended up completely out of position!!!
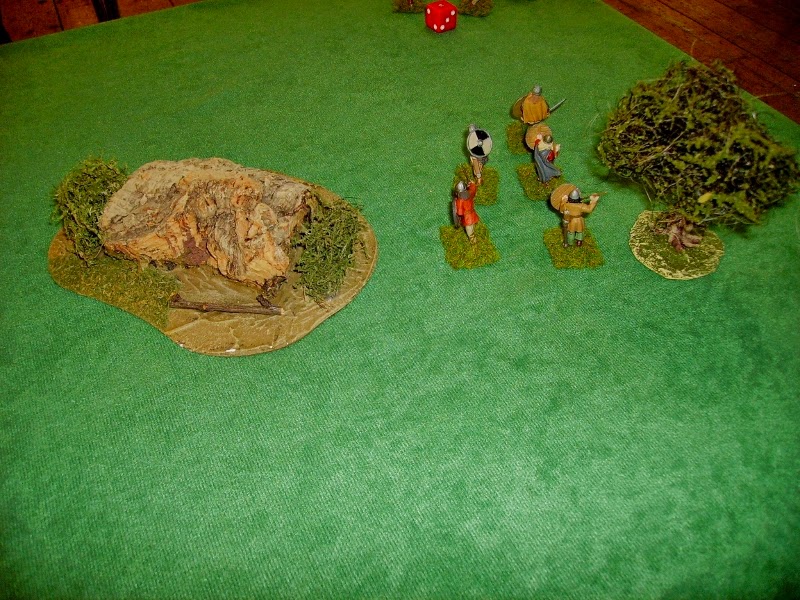
Oh no, not again!
I tried to change my order to join Ian's band on the hill, but ended up falling back again!! 
Lawrence finally succeeded in getting  his lost men behind a rock!
 I got alongside Ians men on the hill, just in time! 
Lawrence had his men behind the rock run towards Ian's men on the hill. 
 Ignoring the shooting from Ian's archer, Lawrence moved a warrior into combat!
 He lost the opposed 'Skill' rolls by 1 and took Ians warriors Strength + D6 - a total of 12 damage!
 Another warrior attacked! 
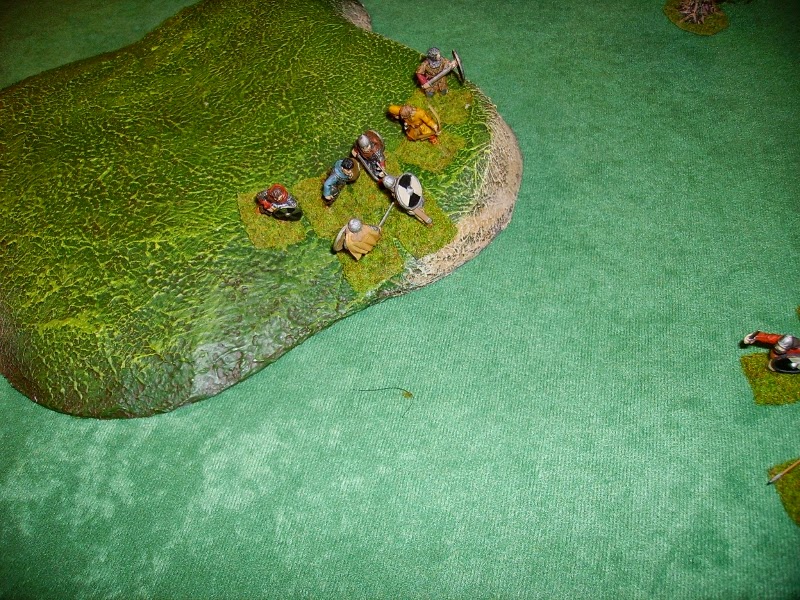
Another loss, but only 6 damage suffered. 
This continued, the Saxons only lost one combat, but most of the Vikings were hurt, some very badly. 
 In the Saxon move, they had 3 attacks each. As the Vikings were already hurt, they lost a man dead first melee.
Ian used the archers second action to move on the flank of the next Viking. 
 The 2 Saxons quickly killed the next Viking!
 Repeating the same tactic as before, the swordsman went on the flank of the next Viking.
In another melee action, the third Viking died. 
 Ian had some very good dice today!
The fourth Viking fought hard, but finally died too! - this melee is brutal!
 The surviving Viking took a morale check and retreated. Lawrence's command dice meant the other Vikings also fell back!
The game ended! The devastating and rapid defeat of the Vikings attacking the hill decided the day.

I think we all learnt a lot about how the game worked today. I think a lot of odd things happened due to odd dicing!
I am not surprised a lot of people like this game!

After, we tried 'Battle Troll' - an odd game! - it is one I think we could play as part of an occasional campaign.
I managed to kill 2 of my 3 enemies, only taking a couple of wounds, but lost the battle as my dead opponents managed to gain Reputation from Insulting me and dying gloriously!

Sunday, 7 December 2014

How to use my...Sails of Glory solo rules!

Greetings!

The Solo rules in question can be downloaded from Tyneside Wargames club downloads along with lots of others!

Enough advertising! - This post will hopefully let you know how the rules work.

The solo rules will run République Française, a first rate ship of the line.
 As per the solo rules, République Française will move straight as close to the wind as possible, in order to get upwind of their opponents.
On the other side, Lawrence was running HMS Royal Sovereign, and was doing as the French, trying to get upwind.
At 'Battle Sails', the ships were making slow progress towards each other!
We were using the Standard rules, the solo system is useable with the Advanced rules too.
At this point, the ships were getting close, though the British ship was now slightly upwind of the French one!
However, scoring a 1 on the solo chart meant a straight manoeuvre again.
So, you ask, how did the system decide this?.
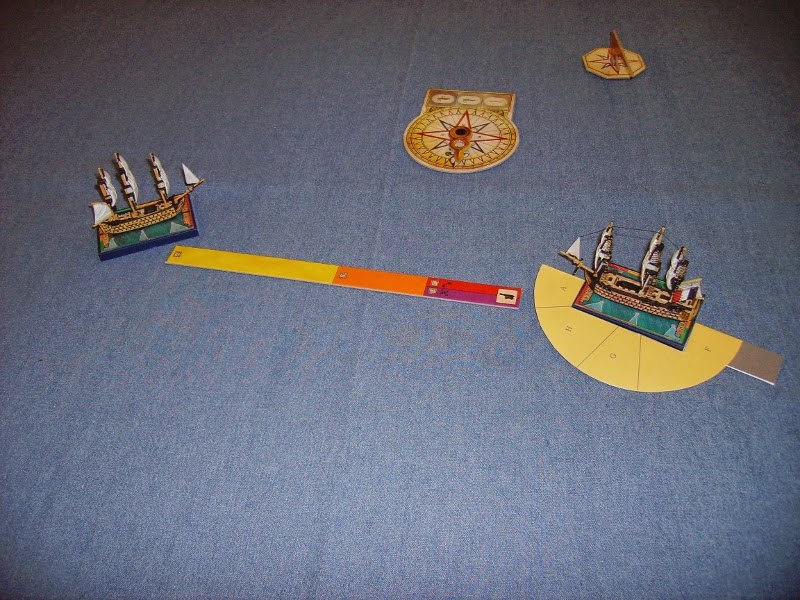
First, I put the template on my ships base then looked to see which zone the Sovereign was in, in this case 'A' I then threw a D6 and scored a '1', and consulted the chart.
As the République Française was down wind of the British ship, we used the Right hand (red) zone list to determine the manoeuvre.
The next order phase got a similar result!
Another straight! - this is very unlikely in a game, 2/3 of the possible manoeuvre options for the solo French ship would have made him turn to parallel the British ships course!
The British ship got a broadside against the hapless French. As the British ship was in the forward firing arc of the French, the French did not fire, saving their shot for a more effective broadside or rear arc shot.
The range was 'short' so it caused 7 'B' damage!
This caused a lot of damage, but not critical...yet!
So, what would the French do? - we know its next move will be a straight, which should give it a shot at the British, but what then?
Ah, at last, a turn!
So, as expected, the French got a 'Stern rake' - though only from the rear arc...
Lots of '0's, which were discarded, and these paltry damage chits!

So, the next planning phase (as the French gunners feverishly reloaded)!
Another left turn!

Both sides had decided to turn downwind, so ...
...the game would continue, with both ships slowly turning to pass again.
At this point, I am hoping you have got the basic idea of how the solo system is designed to work?

We now decided (my friend Phil had arrived!) to try a multiple ship game, to test the system!

I ran 2 French ships using the solo system, the République Française a 100 gun ship, and a '74' - the Généraux. This meant I would need 2 solo charts!
I set them up as per the normal game, for speed, we would be using the standard rules again. As per the solo rules, the solo ships would start in line, heading as close to the wind direction as they could without 'Backing sail', and in a single line, the larger République Française in the lead. It is important to deploy the ships in line with sufficient distance between them, otherwise the smaller ships catch up and ram the ship in front! I think 1 - 1 to 2 base length distance is sufficient.
The British, HMS Royal Sovereign (again) now joined by Phil and HMS Ville de Paris, both 100 gun First raters, this would be a walkover, surely?
The French, being over 2 shot lengths from the British, continued on a straight course.
The British began to diverge.
As expected, the French 74 was slowly catching up with République Française!
(yes, those are my glasses - sorry!)
The situation at this point was this.
When within 2 rulers distance of the British, the French ships began to dice for their maneuvers on the charts, they both headed for the left hand target.
The 2 French ships closed with the ex-French Ville de Paris!
Lawrence's Royal Sovereign was distant, upwind.
As both forces passed, only the Sovereign and the French 74 managed to shoot!
The poor Généraux took a fair amount of damage!
..The British rather less!

Now the Royal Sovereign engaged the République Française.
The Ville de Paris was getting...out of position?
The République Française took fairly light damage.
The Sovereign a little more, but not too bad.
However, as the British reloaded, the Généraux got a..quite devastating..volley at them as they passed.
The French now began to turn in line.
The British turned too, the Sovereign to engage, the Ville turned upwind, attempting to tack?
The main forces continued turning to engage.
The Ville began its tack!
The République Française and the Sovereign began to line up.
But once again, due to running with the wind, only the Généraux got a shot with the weakened Sovereign, 
The Ville, meanwhile, completed its tack.
The Généraux got another luckily devastating volley, the Sovereign only managed light damage on the Généraux.
At this point the Sovereign was virtually a wreck, and signalled retreat!

The smaller French force, run by the solo system, had won!


I doubt the French will have it so good next time, they were fortunate the Royal Navy failed to keep their ships together, and in the astonishing shooting by a certain French '74!

I hope the solo rules give you a good game too!

Any problems or queries about them, please let me know at the E-Mail address at the top of the Blog!

Thanks for reading! Happy gaming!