Today, we did a game of X-Wing, against my Solo rules.
 I use a template to determine which zone the nearest enemy ship is to each solo run ship, then cross reference on the chart to determine which manoeuvre and action the solo ship will use.
We had 4 players, each with a Red Squadron X-Wing, against the solo system with 7 Tie fighters. The points were about the same, as the Empire was using Black squadron.


We had 4 players, each with a Red Squadron X-Wing, against the solo system with 7 Tie fighters. The points were about the same, as the Empire was using Black squadron.
The Imperial line

There was a small asteroid field to their right.

Phil (Red 10) was hiding there with Lawrence (Red 1)

On the Imperial left, Alex (Red 2) and I (Red 3), we hoped to split the Imperial slugs and take them out, ship to ship.

The Ties came forward in line, Red 2 just escaping getting shot at!

Reds 1 and 10 stayed in the Asteroids!

Lawrence (Red 1) - emerged to shoot at a Tie, but at long range he missed.

Another Tie fired at his flank...

...but Red 1 dodged the fire.

Red 1 fired at another Tie which was trying to outflank him.

The Ties headed for the Asteroid field, the Rebels tried to rejoin.

Red 1 'Koiogran' turned...

...A Tie emerged from the Asteroids, and, being too close to Red 10, fired at Red 1, another miss!

Lawrence fired back...What a good shot!

The Tie exploded!

Both X-Wings went after the other 2 Ties...

Back on our side, a Tie got a shot on Red 2 - and missed.

I had got on the flank of one of the Ties, but he was too maneuverable and evaded.

A Tie turned and shot one of my shields off.

My return fire hit the Tie for 1 damage.

Alex (Red 3) appeared to be keeping away from the 4 Ties!?

Red 3 Koiogran turned and got a good hit on one of the Ties.
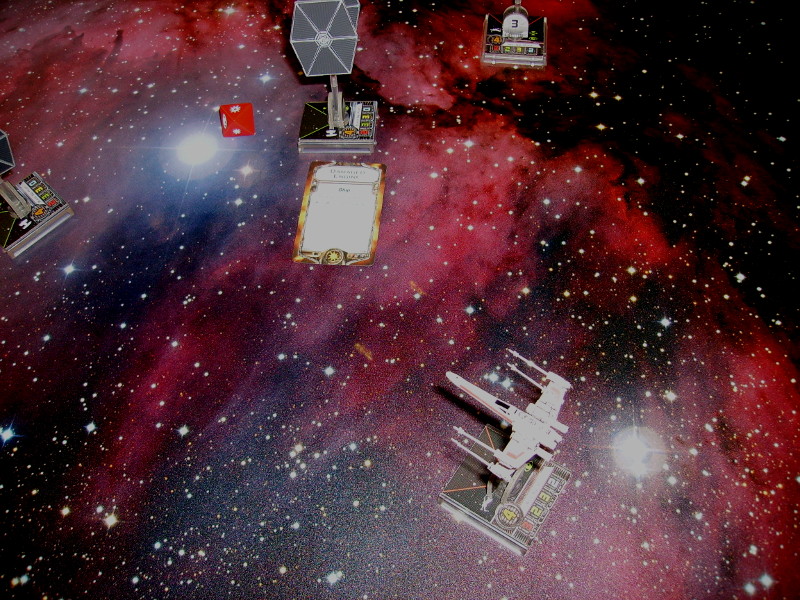
I got on the flank of another Tie following a sharp left bank.

I crippled him, 2 of his 3 hull points gone!

I turned again and got another great short range hit on the Tie!

His return fire missed, as he blew up!

Red 3 had got himself bracketed by 3 Ties...

...He escaped with minimal damage

2 of the Ties now rounded an me, and with a lucky shot...

...left me sucking Vacuum! (Sigh)

Alex now had 3 Ties to face by himself!

His outlook was none too bright!

He tried to evade a Tie...

...but the Tie shot him down!

The 3 Ties now turned to engage the surviving X-Wings.

Red 1 and 10 pounced on the 2 Ties as they emerged from the asteroids.

One of the Ties moved to engage the Rebels!

Red 1 chased a Tie back into the asteroid field and killed it!

The other Tie, having evaded Red 10 came unexpectedly from behind an asteroid...

The brave Red 1 was no more...

Red 10 was soon evading the Ties which had killed Red 2 and 3.

One of the Ties got on his tail.

The last X-Wing was destroyed.

The remaining 4 Ties now returned to base...

...The Emperor will be pleased!