Today, we had a WW2 skirmish, using the recon elements of a US cavalry unit against an indeterminate size Wermacht defending force.
As usual, I used counters to represent fire teams, vehicles etc, mixed them with dummy markers, discarded just under half the counters, and placed the remaining counters in likely positions covering the American line of advance.
I made several of these counter piles so we could deploy Anti-Tank and command elements in sensible positions for their type. Infantry and random event markers were placed next.
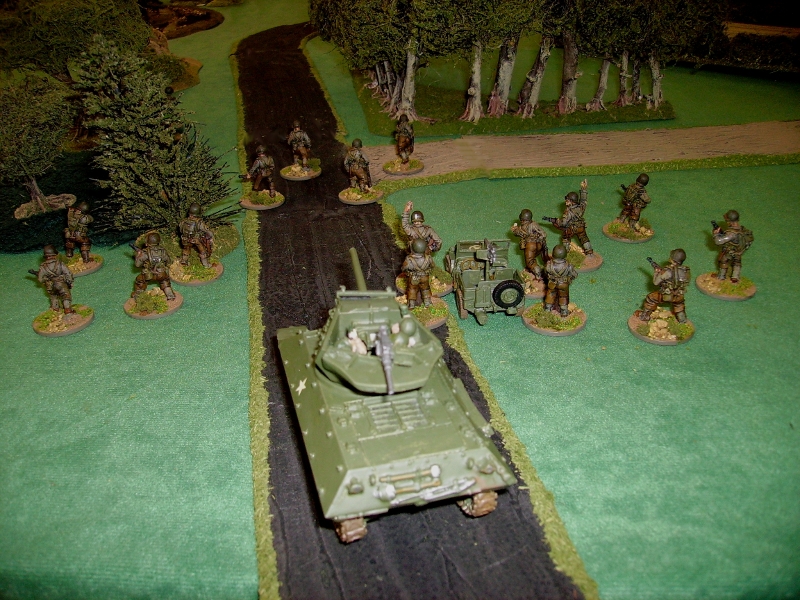
The scenario was a reconnaissance by a platoon of US infantry, supported by 2 M10 tank destroyers.
Our aim was to secure a bridge over the stream in the centre of the table for our following armoured elements.


As usual, I used counters to represent fire teams, vehicles etc, mixed them with dummy markers, discarded just under half the counters, and placed the remaining counters in likely positions covering the American line of advance.
I made several of these counter piles so we could deploy Anti-Tank and command elements in sensible positions for their type. Infantry and random event markers were placed next.
The scenario was a reconnaissance by a platoon of US infantry, supported by 2 M10 tank destroyers.
Our aim was to secure a bridge over the stream in the centre of the table for our following armoured elements.
The bridge, from the German side of the table.
The start point for the Cavalry.
The sort of terrain we would have to traverse!
As commander, I directed my section commanders, Lawrence and Ian, to advance on either side of the road leading to the stream, I would follow with a third section, the command group and the tank destroyers.
Lawrences' men began to traverse the hedges on the right of the road, looking for Panzerfaust teams that could hit the following armour.
Ian put his section into the woods on the left.
My infantry followed slowly down the road, ready to support the lead units.
Ian's troops were moving slowly in the thick woodland.
Lawrence's men were doing better in the fields.
I halted the TD's and my infantry so as not to get beyond the protection of the lead troops.
Ian safely got into an overwatch position overlooking the stream.
..his scout probed into the more open ground.
My troops began a slow advance.
The 2 TD's moved forward to support the lead units.
Lawrence's section continued to hedge-hop.
Ian, seeing no enemy, rushed his men to ford the stream.
His scout probed carefully along the stream edge..
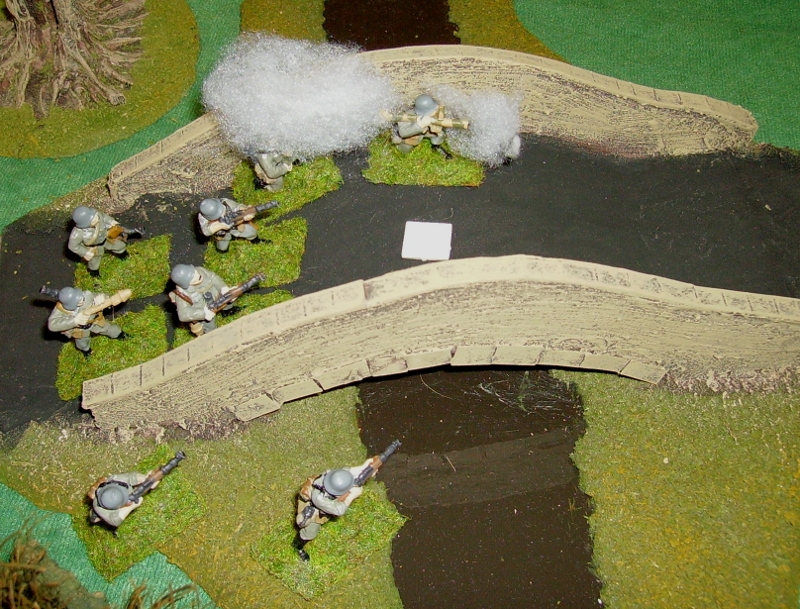
..and spotted a group of German infantry having coffee!!
Lawrence's men were suddenly surprised by the appearance of a Stug 3 and supporting infantry moving down a track on his right.
My units moved closer to the front.
Ian was carefully moving his squad to engage the enemy infantry, as his scout withdrew deeper into cover!
One of the covering M10s fired a 76mm HE round which killed an MG34 team.
As Lawrence's squad hid from the Stug, they saw a full squad in a field near the advancing German armour.
Fortunately, the Germans failed to spot them.
Back in Ian's half of the table, the Germans faced by the TD moved forward to engage.
Ian's men saw their opportunity, and moved forward to hit them in flank with fire.
My previously unseen infantry behind the TD's joined the fire fight.
The remaining Germans fled back to cover.
To Lawrence's surprise, the Stug and the infantry withdrew back towards the stream.
This allowed Lawrence and me to advance again.
Ian's men occupied the position the German infantry had held.
A group of German infantry appeared over the bridge, obviously in support of their friends.
Some long range rifle fire sent them back, but a supporting Panzerschreck spotted a TD and fired!
The lead TD had a track blown off!
The crew bailed out and headed for cover.
The withdrawing Germans began to regroup on the large hill overlooking the stream from the German side.
Ian's and my infantry, together with the other TD moved to deal with the Panzerschreck team before it could reload..
..which was quickly done, the brave Germans had not withdrawn to safety.
The remaining Germans surrendered the bridge to us...
They lined up on the big hill, unseen by us.
The American commander, having apparently achieved his objective, halted his troops.
The Americans had suffered no casualties, apart from an immobilised M10.
The Germans had only lost 5 men, but overfaced by the US force, decided to withdraw into the growing dark.
This was a quite bloodless, but exciting game! - the random size of the defending force this time meant the Germans deployed a small force, which was quite easily brushed aside by the American force.
Cool!
The rules (including the solo system) - used can be downloaded from Tyneside Wargames club downloads
Your WWII games always seem so realistic.. The TD crew bailing for instance.. Great stuff.
ReplyDeleteSteve
Thanks Steve, the vehicles use the solo system in the rules making realistic responses to these events more likely than player run vehicles!
DeleteThanks for the kind comments!
Great looking game - terrain and figs. Best, Dean
ReplyDeleteCheers Dean!, glad you seem to like my AAR posts,sorry they always end up so long!!!
Delete