Greetings!
Today we did a couple of games of WW1 Wings of glory, as part of our irregularly played campaign. (the solo rules we used for the opposition, and the campaign rules are available at: TWC downloads page )
In the first game, we diced up an interception mission. We had to shoot down a Roland which had taken pictures of our artillery positions, and was returning to German territory escorted by 3 Fokker DR1s.




Today we did a couple of games of WW1 Wings of glory, as part of our irregularly played campaign. (the solo rules we used for the opposition, and the campaign rules are available at: TWC downloads page )
In the first game, we diced up an interception mission. We had to shoot down a Roland which had taken pictures of our artillery positions, and was returning to German territory escorted by 3 Fokker DR1s.
The Germans heading for their own lines!
Ian had his SE5a out on the flank.
Lawrence's Sopwith camel, and Phil and my SE5a's started together.
(Overview)
All our planes headed for the Boche, while I swung right to outflank them.
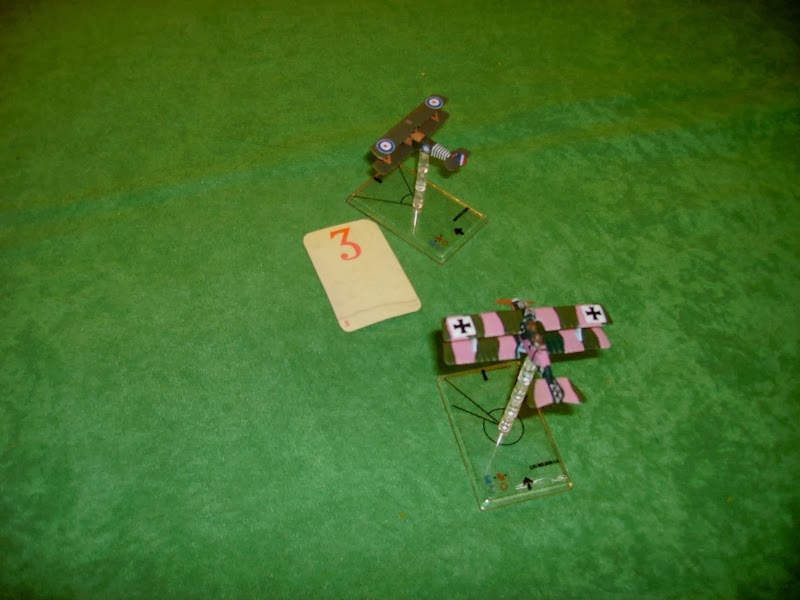
Lothar von Richtofen turned to attack Ian, but was caught by the SE.
(Overview)
Ian carried on and hit Voss's tripe.
Lawrence and Phil tried to hit the Roland, which had turned to face them. My flank attack would have worked but for Phil being too close to the Roland (sigh!)
The Roland's rear gunner kept popping at its pursuers!
Ian wasn't having everything his own way as the 3 Triplanes tried to get a bead on him.
The Roland continued evading the rest of us.
Ian was still tying down the enemy scouts..
The German fire seemed unable to damage his plane, while Ian hammered the red triplane again.
I had a close shave with the Roland, being just too close for the rear gunner to get me.
A critical moment, Phil killed the Roland's rear gunner, but the gunner set Phil's SE on fire.
Ian continued to chase Richtofen.
Phil started to accrue damage from the fire each turn.
Ian was still trying to hit Lothar!
Despite the fire, Phil was aggressively chasing the Roland.
Then, the Triplanes seemed to sense blood, and closed on Phil's wounded bird..
Ian was still sparring with the red kite.
Finally, the German swarm caught Phil in a storm of fire...
0 pointed, he diced in the campaign rules, and found he landed safely only to be taken prisoner by German ground troops. Exit Phil!
Ian was flying rings round Richtofen.
In a final burst, which jammed his guns, Ian finished off the red tripe.
I was hit by Voss's tripe.
Lawrence jammed his guns firing at the Roland, I was out of range.
Ian found a new triplane to attack!
The German fought back!
(Overview)
Despite the loss of his rear gun, the Roland still showed plenty of fight!
I was still getting '1 damage' hits on my targets!
The Roland had latched onto Lawrence's camel.
The lack of a rear gunner made the Roland vulnerable to Ian's fire.
(Overview)
I was losing a fire fight with the Roland...ANOTHER 1 damage from me!
As I passed, Lawrence hit the Roland hard.
The Roland could take no more...We had won!
For the second game, we diced up a ground attack mission. 3 counters were placed on the table, 2 would be just machine guns, the third was the target, guarded by 2 MGs. An artillery battery. We all carried 2 bombs to help dealing with it!
Ian was off on the flank again, to reconnoitre the first counter.
As Ian closed, he got a 'Bang' result from ground fire! - in the campaign, we dice to see what happened. Ian was lucky, only being stunned for 3 manoeuvres.
At least he had found the main target first try!
As he sailed on past the target, unable to do anything, a Pfaltz scout arrived to attack him!
I was coming to the rescue. As both ground guns had jammed shooting last move, I flew in low and dropped bombs on the target. 1 hit and seriously damaged the target!
As Ian had come round, he flew away from the Pfaltz, which was so intent on killing him did not see my SE turn sharply onto his tail, and send him flaming to the ground!
I then turned, and with Lawrence and Phil, plastered the ground target, the return fire was ineffective against us. The target was destroyed!
We had a couple of good games! - Ian was lucky to survive, and Phil got to start a new pilot!


