Today, we had a couple of games going to restart the club series, X-Wing, and What a Tanker!
As we didn't have the numbers expected, we had a tank game first, involving all of us, which I took photos of.


As we didn't have the numbers expected, we had a tank game first, involving all of us, which I took photos of.
Andy chose a Churchill VII.

Ian backed him up with a Cromwell IV.

Lawrence had a StuG III G.

...as did Paul.

To match the points, I took a Panzer III J.

The Churchill began on the right of the Allied line...Ian on his left.

My tank was on the German right...

...the StuGs were in our centre and left.

Lawrence in the German centre rolled his first dice...he prefers some Australian wooden dice, and got a fairly good roll!.

Andy, opposite him - and the rest of us stuck with D6's.

In the first round, my Panzer III forged through a hedge.

Lawrence moved into a walled enclosure...

...Paul moved towards the Churchill (over the hill)

Ian's Cromwell used its speed to try and move towards the Churchill on their right, and overwhelm Paul's StuG.

The Churchill moved towards Paul's Stug.

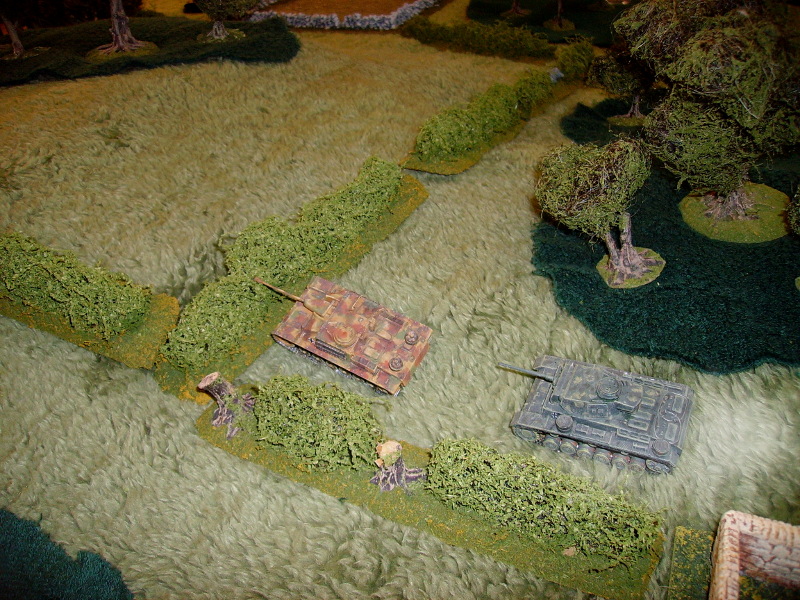
In the next round, my Panzer moved round a walled enclosure, to the flank Ian was heading to!

Lawrence stayed facing the centre in ambush position.

Paul reached a hedge corner, where he could be in cover against the Churchill.

The Cromwell was catching the Churchill up!

Lawrence had moved forwards, My Panzer III joined him.
Paul awaited our arrival.

The Churchill reached a hedge overlooking Paul's StuG. His first shot went wide.

The Cromwell moved to take up a position on the Churchill's right.

I was stuck behind a hedge...

The Cromwell advanced to engage the StuG, while the Churchill moved to face Lawrence.

Lawrence had outflanked the Churchill, and bounced a shot off its heavy armour!

Paul moved to engage the Cromwell...

...whose shot missed.

My Panzer III joined Lawrence, whose StuG had retired after shooting, to evade any return fire.

Paul's StuG was shooting well, but only causing temporary 'damage'.

I decided to try and outflank the British, so retired behind the wood.

With no Lawrence to shoot at, the Churchill joined in shooting at Paul's StuG, forcing it to retreat into the walled field.

That Churchill was going to be hard to shift!

Paul managed to get his temporary damage back, but couldn't kill the Cromwell.

My Panzer III raced behind the British.

Lawrence had re-engaged to face the Churchill.
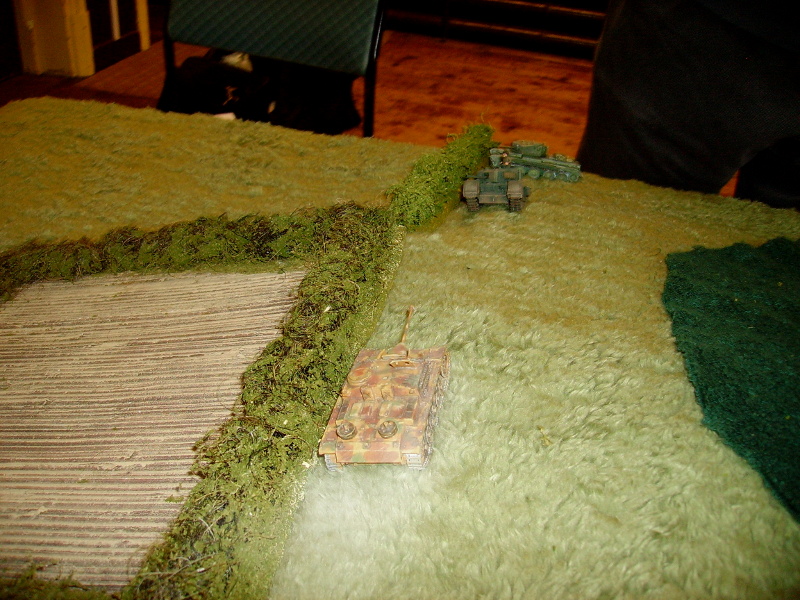
The Churchill was unperturbed!

Paul had nestled his StuG in a corner of the field.

The Cromwell raced into his rear, but failed to shoot the StuG which spun around to face it.

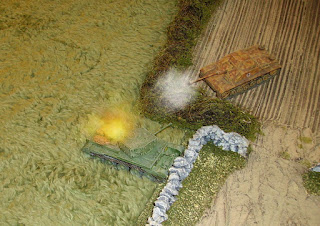
A single shot from the StuG into the Cromwell's flank 'Brewed it up'.

The StuG then rotated again to face the Churchill...

...which was distracted by my Panzer III which had bounced a shell off its armour.

The StuG fired again...

...destroying the Churchill with a lucky shot!

The poor British had a poor shooting day, and suffered accordingly!
--Paul had his usual dicing luck!
In the X-wing game after, Ian managed to destroy the Millennium Falcon and my Tie claimed a 'Headhunter' and a B Wing! Ian only lost 2 Ties!
(The sides were Ian with 6 Tie fighters, and a Decimator, run by me - I used one of Ian's Academy piloted Ties as well.
Paul had the Falcon, 2 B-Wings and the Z-95)
We had a lot of fun!
No comments:
Post a Comment