Welcome!

Welcome to the Blog of a Skirmish wargamer! I hope you enjoy reading it!


All my rule sets are freely downloadable from our club website's Downloads page


If you need to contact me my E-Mail address is richardbradley5@gmail.com


Sunday, 3 June 2012

The Feds strike back!

Been a while, but we decided to do ACW skirmish again yesterday!
We decided to pit a Union company against a Confederate one, smaller but of higher quality...

The scenario we decided on was two companies moving down a road placing detachments along the expected line of the enemy advance. Unbeknown to them, their routes meet at a small farmhouse and a fork in the road....

The farmhouse, with the road beyond. The Union advancing from the right fork. 
 An untidy column of Feds wanders up the road
On the other fork, the Rebs make a better show! 
 The long line of Union men snakes on..
The Rebs round the large hill ...
  and see the boys in blue!--Sheeit!
 The roused Rebs rapidly deploy into line, as the officers yell commands! 
The first Union platoon rapidly deploys into line... 
 The second platoon rush forward to help.
 A platoon of Confederates breaks left to woods on the flank of the Yanks.
 ..the other platoon spreads out along the expected Fed line of advance.
 However, the alerted Federals are spreading out. 
Back at the hill, a Reb section takes a reverse slope position. 
 The detached Rebel platoon enters the woods, a couple of men being wounded by the few Feds they saw on their flank. 
The woods prove heavy going....
 The rest of the rebs on the road hide behind a rise.
 
 While the Rebs are dispersing, the Federal commander extends his line with the second platoon. 
 (An overview of the battle at this juncture)
 The kinked Federal line deploys facing the hill...
 ..and to the sound of drumbeats bravely advances against the hidden foe!
 The outnumbered Rebs wisely keep their heads down!
 The Federal line straightens briefly.. 
 ..before the second Union platoon advances down the road.
 On the Federal right, the line extends to face any threat from the right.
 The squad down the road shoots down the road at the advancing mass.
 A few men fall..but the line is steady...
...and returns fire!
The far greater number of shots causes mayhem.
Up on the hill, the second Rebel section breaks cover. Although they cause several casualties, they come under fire from the  first Union platoon. 
 Suddenly, more Union men fall as they reload!
 Some of the other Rebs, recalled from the woods, make their appearance!
Too late...the men on the hill are retreating! 
 The squad which got through the woods shoots..
 ..but attempting to hit the Federal captain, only kill the first Sergeant!
 These rebels don't get a second shot, heavy Federal fire makes their position untenable!
 The remaining Rebs, with 30% losses,to the Feds 20%, fall back.
 Beaten but not bowed! 

This was a FIERCE battle, the effects of Minie rifles is astonishing!....The Union won mainly due to the dispersion of the Confederate units allowed their greater numbers to win the day.

The terrain greatly favoured the Union, although cover was limited, it gave sufficient space for aggressive manoeuvering!

(About time the Union won!)

The Players:

Rebel 1st platoon: Lawrence
Rebel 2nd platoon: Phil

Union 1st platoon: Ian
Union 2nd platoon: Me!

Saturday, 26 May 2012

T.D.-ing up in France!

Today it was back to WW2 skirmish.

We decided to do a scenario involving a platoon of US infantry escorting a brace of M10 Tank destroyers to an ambush position where German armour is expected to pass. A Sherman is also accompanying the infantry. Overkill?

As usual, we ran the attacking force, the rules solo system ran the Germans.
A mix of markers were placed in likely positions, some were dummy markers, others real units. Others were special markers, the spotting unit taking a result like 'Take a medium range sniper shot', or Mortar strike, or a Panzerfaust shot if armour. This allows us to dispense with sniper figures and suchlike.
Hidden markers spot our forces too, so it can be dangerous crossing open ground!!


The battlefield from the US start position.
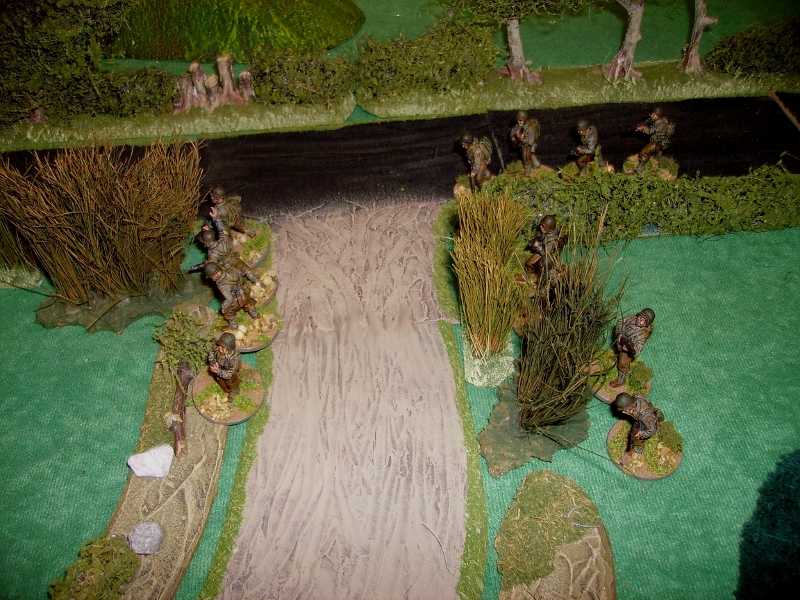
 My squad was on point, and filtered down the road, looking for trouble.. 
 The first 2 counters spotted were dummies (phew!)
 ..but there were plenty of other markers!
 I moved a second fireteam to the left of the road to try and spot them!
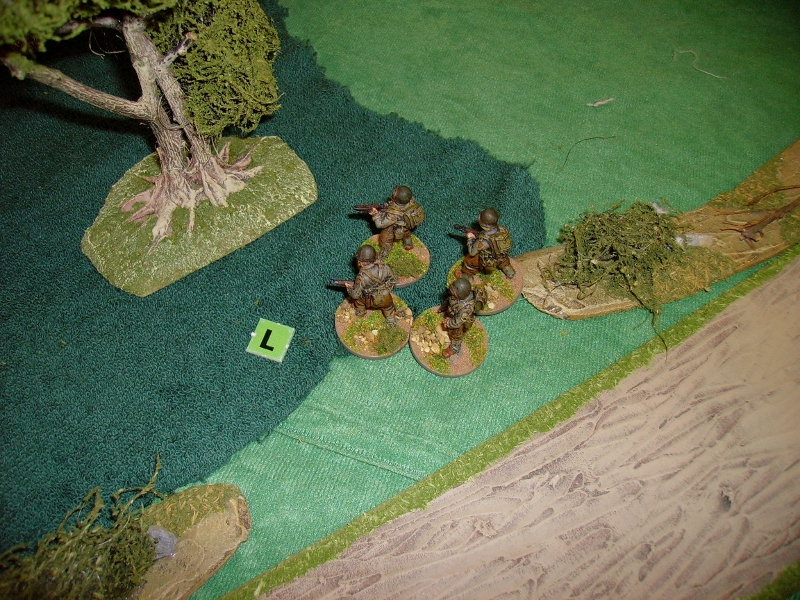
The grunts eye view of the terrain! 
 I halted the column to allow more careful checking ahead.
As my NCO reached a fork in the road one of the counters indicated 2 mortar rounds landing, fortunately, they landed short as my guys dived for cover!
 As the smoke cleared, we cautiously moved forward again.
 Phil's squad followed on, keeping to the hedgeline.
 I switched the rest of my leading squad to the left...
..to cover my crossing the road junction. 
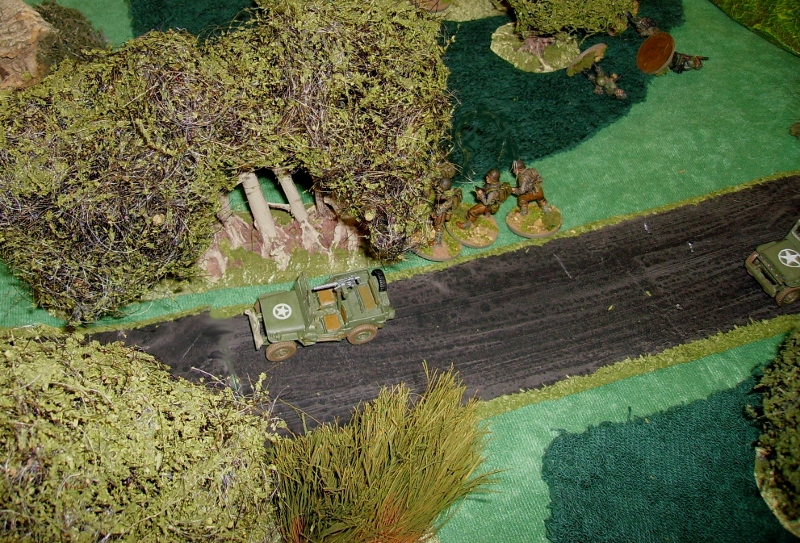
Lawrence's command squad with the jeeps arrived behinds Phil's squad. 
My squad in the front filtered along the hedgeline. 
..trying to clear the last 2 markers. 
One of my fireteams, pushing up the track, drew a sniper shot! - fortunately, the only casualty was a tree!
 I decided to bring my whole squad together via the wood...
 ..as I had just spotted a squad of SS over the road.
 Unfortunately, the Germans saw Phil's squad on the road , one man was wounded. 
 As Phil's men dived to my side of the road, some of the Germans followed up!
 The wounded man was hit and disabled, and the Fireteam was suppressed 
 Most of my guys were nearly in position to shoot the SS from their right flank, but some of my guys were suppressed by another sniper shot!
 I only managed to suppress some of the Germans opposite me.
 Phil filtered a fireteam ound the Germans other flank..
 Ian's final squad  arrived with the TD's.
 ..and the M4, which moved forward to help Phil's infantry.
 ..the TD's backed the M4 up.
 Phil's flank attack, with the tank and my squads fire, quickly cleared the Germans.
 ..though most escaped to the wood
 My men opened rapid fire..
 2 men fell, but the final rifleman fired...
 ..and suppressed my NCOs group!
 ..The rest of my men, however, killed the brave man.
 Seeing no further threat, my squad moved on..
The TD's, seeing no enemy, returned to the road. 
Up front, however, more SS had appeared and fired a Panzerfaust, which missed. The M4 fired back more effectively! 
 ..then drove on into the Germans, backed up by Phil's squad.
 A fierce fire-fight developed.
 My squad ran into the Mortar battery! 
..and blasted them!
 Phil's squad and the tank drove the Germans back through the woods.
 ..till another group of SS hit the tank in flank with another panzerfaust! 
 Phil's infantry quickly engaged the Panzerfaust team. 
 One of my fireteams, meanwhile, pursued the remaining mortarmen through the fields! 
..while the rest of my men spotted another German squad supporting the Germans Phil's men had bounced out of the wood. We were on their flank by chance! 
 The Germans were waiting for Phil's men to break out of the woods. 
 Keeping quiet, I summoned my men from pursuing the mortar crew.
 ..as they came, an MG42 team on the hill spotted us but missed with a snap shot.
We replied with a full squad at short range!
..Supported by a 30 cal MG from one of Lawrences jeeps..
 Needing 12 to hit!
 The Germans broke and fled from this unexpected assault!
 The game ended there, as I had reached the junction and the Germans were in retreat.
The final positions were as below....
We had avoided the Hetzer hidden on our right!
 ..and the Stug on our left, supported by more German infantry!
 I can only hope they sneaked away!

I doubt the TD ambush would have surprised any German armour though!

The rules are available from our club website at: Downloads page