Welcome!

Welcome to the Blog of a Skirmish wargamer! I hope you enjoy reading it!


All my rule sets are freely downloadable from our club website's Downloads page


If you need to contact me my E-Mail address is richardbradley5@gmail.com


Saturday 16 February 2013

Frontier defence 1757

Today we did a French and Indian wars skirmish, using Phil's and my figures, in Lawrence's and my terrain!
The scenario was a standard raid against a small settlement in northern New York state, by a company of Les compagnies franche de la Marine, supported by about 60 Huron Indians.
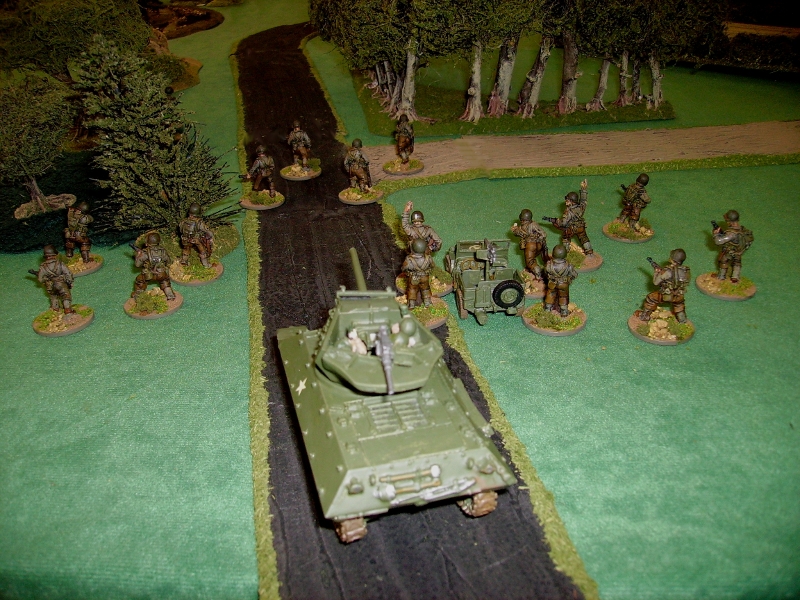
We had about 24 rangers supported by a dozen armed men from the settlement, and a dozen friendly Delaware Indians.

Mark (left), a welcome addition to our gaming band today, with Phil and Gareth.
 Mark and Gareth deployed their Rangers on the right, with Indian scouts forward.
 I deployed my Delawares behind, as a reserve.
Lawrence deployed his militia forward on the left, with Phil's Rangers in reserve by the ford. 
 The French attacked in strength on Lawrence's wing, shooting a lady in her farm.
 They were supported by more Compagnie Franche men and Indians on their left.
 As the farm was overrun, an Indian scout was spotted and killed.
 More fire came from a house on the French left.
While the French dealt with the house, the Indians forged forward against Lawrence!
In a fierce firefight, several Indians were killed...
Phil's Rangers helped from the riverbank.
The Indians were halted by the mass of fire.
Lawrence had lost some men too..
Back at the house, the Indian defenders repulsed a French attack.
Behind them, though, more French and Indians moved forward to attack.
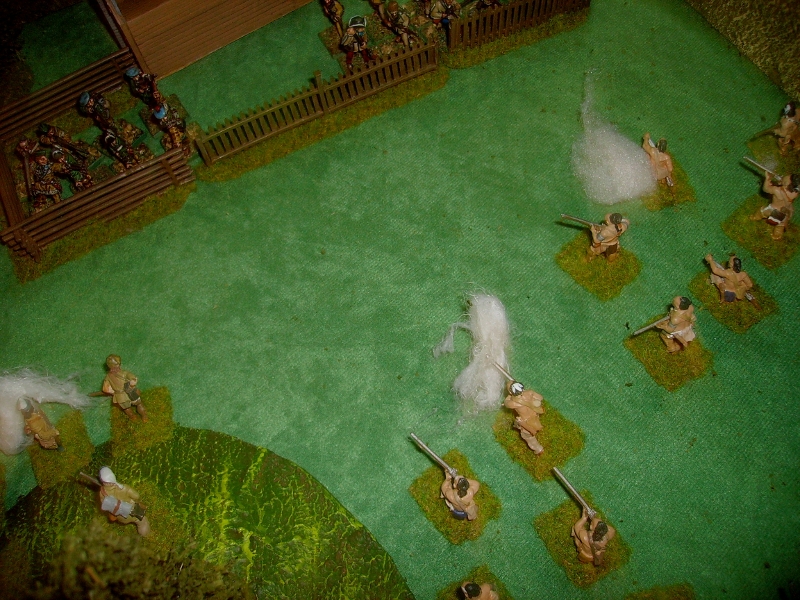
The Brave Huron attackers force the militia to retreat by a fierce charge.
The 2 surviving Hurons continued to follow up!
Despite the loss of another militiaman, the Hurons were finally beaten!
Back in the rear,  and despite the arrival of reserves, the house still held out!
Eventually, the French got the upper hand as they surrounded the building.
The final scout eventually fled.
But was caught and killed.
The French reserves now assaulted the Militia and Rangers from the front...
..and forced them back to the wooded bank of the river.


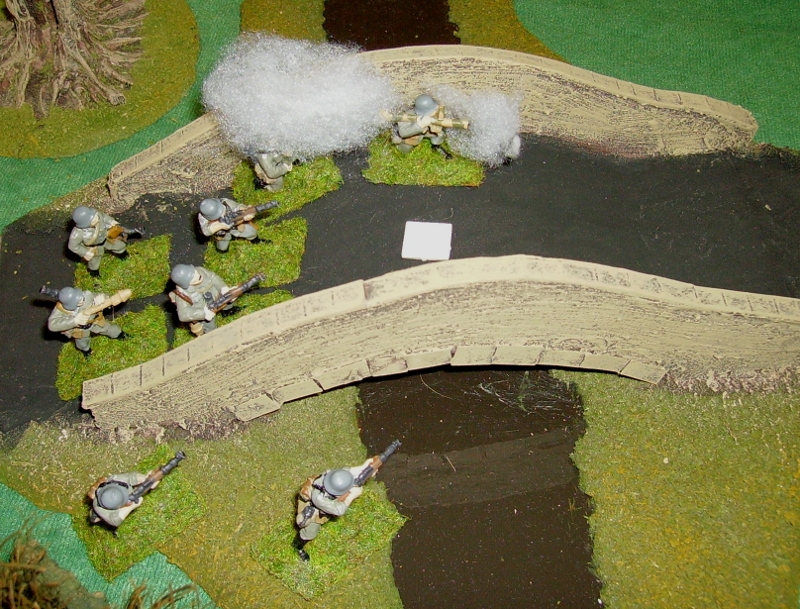
On the other flank, the Rangers Indian scouts first inkling of trouble was when they came under fire from across the river
They fell back from the bank towards the main Ranger position.
At first, French numbers appeared limited...   
  ..but as they began fording the river it became clear a major attack was in progress.
  The scouts took another casualty, futilely defending their position.
   The horde of French swarmed to the attack.
  A firefight began at the Rangers farmhouse.
Once again, the Indians were halted by fire.
 More Indians, delayed by the river, finally joined the attack.
  The Rangers were driven back by sheer weight of numbers.   
The Courours de Bois pushed forward.  
Supported by the French and Hurons. 
 The shaken Rangers rallied at the next farmhouse.
  They immediately had to face another Huron attack.
  My Delawares moved forward, shooting across the river at the advancing French.
As some of the defending Rangers fell back again, my Delawares, led by the Major in charge of the English, hit the Hurons in rear.
  As the Hurons fled from my attack, The major was killed by a lucky shot.
 The enraged Delawares, not at all upset by the palefaces death, attacked the advancing French.
  Both sides took losses, but the French started to realise they had not as many men as they needed to carry the position.
 They held and burned the farms on the other bank of the river.
But could not face the militia and Rangers on the other bank. 
The French withdrew, having caused a lot of damage. The English had saved half the settlement, but many of the inhabitants were killed in the battle.

Probably a French victory..of sorts!

Tough game - but seemed to be enjoyed by the players!

Saturday 9 February 2013

U.S.Cavalry in France

Today, we had a WW2 skirmish, using the recon elements of a  US cavalry unit against an indeterminate size Wermacht defending force.
As usual, I used counters to represent fire teams, vehicles etc, mixed them with dummy markers, discarded just under half the counters, and placed the remaining counters in likely positions covering the American line of advance.
I made several of these counter piles so we could deploy Anti-Tank and command elements in sensible positions for their type. Infantry and random event markers were placed next.

The scenario was a reconnaissance by a platoon of US infantry, supported by 2 M10 tank destroyers.
Our aim was to secure a bridge over the stream in the centre of the table for our following armoured elements.


The bridge, from the German side of the table.
The start point for the Cavalry. 
 The sort of terrain we would have to traverse!
 As commander, I directed my section commanders, Lawrence and Ian, to advance on either side of the road leading to the stream, I would follow with a third section, the command group and the tank destroyers. 
 Lawrences' men began to traverse the hedges on the right of the road, looking for Panzerfaust teams that could hit the following armour.
 Ian put his section  into the woods on the left.
My infantry followed slowly down the road, ready to support the lead units.
 Ian's troops were moving slowly in the thick woodland.
 
 Lawrence's men were doing better in the fields.
 I halted the TD's and my infantry so as not to get beyond the protection of the lead troops.
 Ian safely got into an overwatch position overlooking the stream.
 ..his scout probed into the more open ground.
 My troops began a slow advance.
The 2 TD's moved forward to support the lead units. 
 Lawrence's section continued to hedge-hop. 
 Ian, seeing no enemy, rushed his men to ford the stream.
 His scout probed carefully along the stream edge..
 ..and spotted a group of German infantry having coffee!!
 Lawrence's men were suddenly surprised by the appearance of a Stug 3 and supporting infantry moving down a track on his right.
 My units moved closer to the front.
Ian was carefully moving his squad to engage the enemy infantry, as his scout withdrew deeper into cover!
 One of the covering M10s fired a 76mm HE round which killed an MG34 team.
 As Lawrence's squad hid from the Stug, they saw a full squad in a field near the advancing German armour. 
 Fortunately, the Germans failed to spot them.
 Back in Ian's half of the table, the Germans faced by the TD moved forward to engage.
Ian's men saw their opportunity, and moved forward to hit them in flank with fire. 
 My previously unseen infantry behind the TD's joined the fire fight.
 The remaining Germans fled back to cover.
 To Lawrence's surprise, the Stug and the infantry withdrew back towards the stream.
 
 This allowed Lawrence and me to advance again. 
 Ian's men occupied the position the German infantry had held.
 A group of German infantry appeared over the bridge, obviously in support of their friends. 
 Some long range rifle fire sent them back, but a supporting Panzerschreck spotted a TD and fired!
 The lead TD had a track blown off!
 The crew bailed out and headed for cover.
 The withdrawing Germans began to regroup on the large hill overlooking the stream from the German side.
 Ian's and my infantry, together with the other TD moved to deal with the Panzerschreck team before it could reload..
 ..which was quickly done, the brave Germans had not withdrawn to safety.
 The remaining Germans surrendered the bridge to us...
 They lined up on the big hill, unseen by us. 
 The American commander, having apparently achieved his objective, halted his troops. 
 The Americans had suffered no casualties, apart from an immobilised M10.
The Germans had only lost 5 men, but overfaced by the US force, decided to withdraw into the growing dark.

This was a quite bloodless, but exciting game! - the random size of the defending force this time meant the Germans deployed a small force, which was quite easily brushed aside by the American force.

Cool!

The rules (including the solo system) - used can be downloaded from Tyneside Wargames club downloads