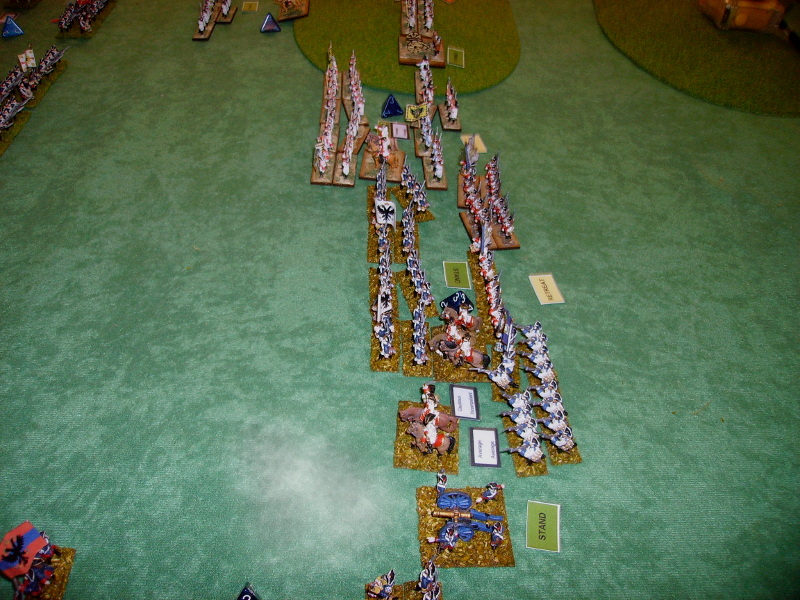
Today, we tried a couple of different vehicles with my Arab-Israeli tanker variant of the excellent 'What a Tanker' rules.
Today, we also decided to try being the Syrians rather than the Israelis, to see if the solo system AI could run AI tanks as well as the WW2!


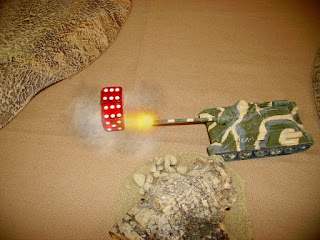


Today, we also decided to try being the Syrians rather than the Israelis, to see if the solo system AI could run AI tanks as well as the WW2!
The terrain for today.

The Israelis had an M51...

...An AMX-13...

...and another AMX-13!

Funny looking vehicle!

Phil had an SU-100.

I tried a BMP-1 - with its Sagger (AT3 Malyutska) ATGM.

On the other flank, Lawrence had another SU.

As per normal with Syrian vehicles, as per Soviet policy they stayed 'Buttoned up' all game!

My BMP got a poor set of Command Dice, and had to retreat into deep cover to avoid being picked off!

One of the AMX-13's advanced quickly to try and engage us.

Lawrence managed to acquire it, and got a shot off...

...the light armour of the AMX was no match for the big 100mm gun of the SU.
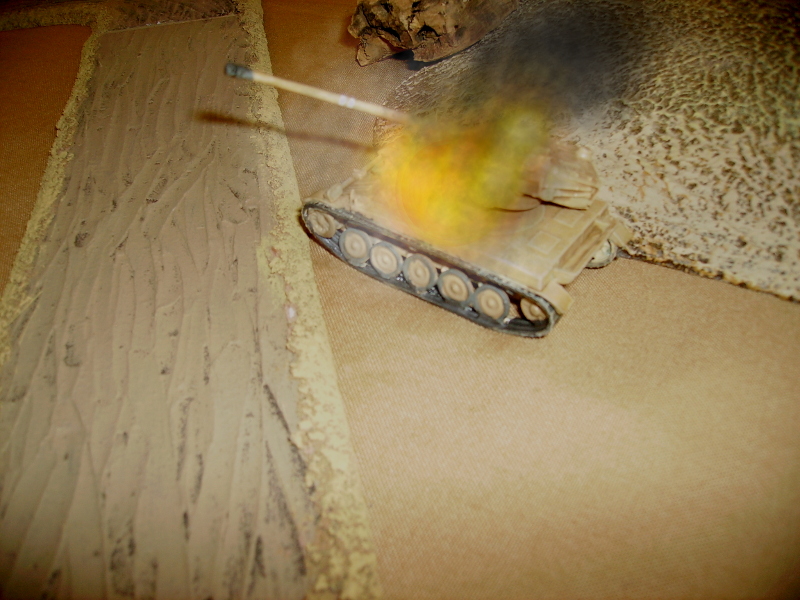
The M51 moved to engage Lawrence.

Phil moved off his hill...

...and began moving towards the other AMX.

He fired, getting a very accurately aimed shot...

...the shot managed to glance off the French tank!

Panicked the crew a bit though!

The AMX rapidly recovered and returned to cover before shooting (a miss!).

My BMP advanced to observe the M51, and fired a Sagger missile.

Phil got off another shot at the remaining AMX.

..but only managed to hit the terrain.

The AMX moved close to the rocky outcrop.

...but missed the SU.

The M51, oblivious to the flight of the AT3, continued firing at Lawrence's SU.

Lawrence tried to get closer to the Israeli.

This allowed him to acquire the M51 and engage it.

My Sagger wobbled its way towards the M51...

...but missed!

Phil tried a multiple shoot at the AMX, he had a near perfect command die roll!
As he shot, however, he got the dreaded double 1!

..and zeroed his SU!

The M51 was still ignoring my BMP.

He fired his 105mm gun...

...and destroyed Lawrence's SU-100.

All the brave crew were killed

On the other flank, the AMX took advantage of Phil's stalled SU.

3 hits! With a 7 dice defence, Phil must surely survive?

Nope! Not a single save!!!!

My BMP made a hasty retreat! - First game to the Israelis and the AI!
2nd game.
The Israelis had 2 M51's this time.

I had an SU-100.

Phil had an SU-100.

...and Lawrence had an SU-100!

Lawrence advanced.

...as did one of the Israelis.

It fired.

My SU survived!

I moved off my hill, but not very fast!

Lawrence's SU was unable to move, seemingly mesmerised.

The Israeli facing me advanced closer.

I actually saw the M51, but couldn't Aim!

Lawrence got a spot on the SU in the centre, but threw the second double one of the day!

He was 'Zeroed!'

He soon had his SU moving again and tried to go round the flank...

...he didnt get very far though and ended with his flank to the enemy.

Not a good idea!

To hit...(minus the misses)

...Lawrence's Armour roll (- 1 dice, a 1)

Lawrence's SU-100 died again!!!

I was being pinned by the M51 opposite me.

My crew backed up in alarm...

...before getting their mojo back and advancing to cover.

My shot seriously upset the M51's crew.

Phil was facing the other M51.

...and advanced to cover behind a wall...

...before engaging it.

His shot got a near miss on the M51...

...which only lost 1 command die temporarily

At this point, the Isherman facing me got another shot...

I was destroyed!

Phil was forced to turn and make his escape...

...another victory for the Israelis!

Don't worry, the third game is not featured here, beyond a few pics!
A Sho't meteor...Phil sooo wanted to use one!

I used an M51.

Lawrence was using a Jordanian M48 from his collection.

Phil's Sho't got a shot.

Lawrence lost his THIRD tank!

The other one, used by James, a visitor to our club (He is at University).

Rather sadly, and despite some clever manoeuvering, he also fell victim to the Sho't's 105mm gun!
Definitely a good day for the Israelis!!!