We did a WW2 skirmish at the club today, on the premise of a German counter attack against a hotchpotch force of American Paras and GI's defending the edge of a small town.
This gave Lawrence and Ian the chance to put their nice new 4Ground buildings out!




This gave Lawrence and Ian the chance to put their nice new 4Ground buildings out!
The town edge, from the direction of the German advance.

One of the ruined buildings.

The 4Ground buildings in place.

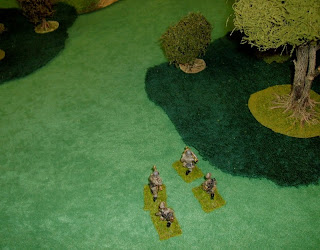
Phil, our erstwhile commander placed my Para section out of the town, keeping watch.

My NCO and some riflemen probed forward carefully.

Ian set his men in an enclosed walled area on the edge of town.

Phil himself, placed his Bazooka team in a ruined house. His infantry were in the houses.

Lawrence set his GI's on the far side of the road.

A platoon of Wehrmacht appeared on the road, out of sight of my men.

A party of Panzerjagers were separate - hunting for Shermans!

The platoon command was further out still, in contact with...

...the other platoon, appearing in the rear of my squad..supported by a StuG 3!

My men on the hill were lucky, they spotted the Germans in their rear before being spotted and headed to the woods.

The Germans were distracted by advancing towards the town.

Unknown to me, the other platoon's command group were moving to the woods I was in.
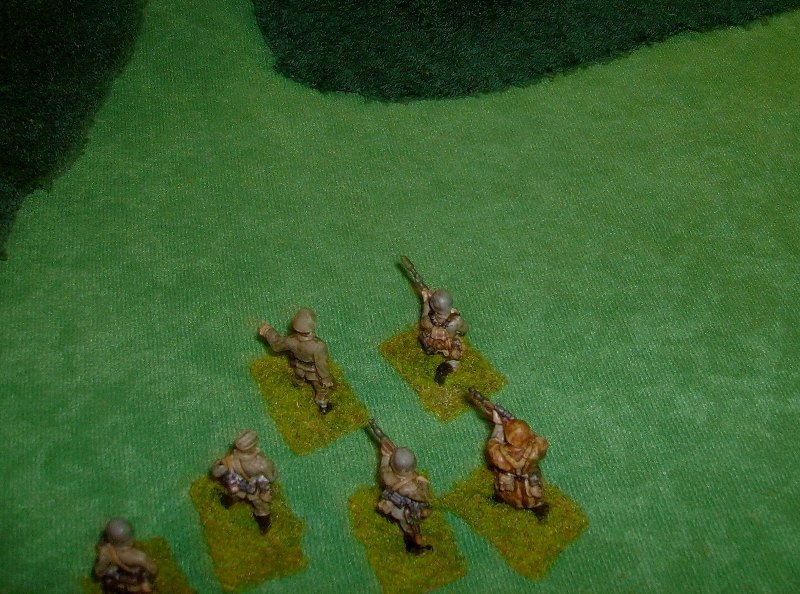
Back on the main road into town, the other platoon continued to advance at speed.

My men were surprised by the appearance of the command squad, but one of my men wounded the first German to appear with a lucky shot.

Seeing the platoon with the StuG approaching, Lawrence put his GI's into the buildings facing them and waited.

The assault gun and some of the infantry moved towards the crossroads.

Back with the command group, the rest of the men advanced and deployed.

One of my men fell dead!

We fired a volley at the enemy and fell back into the wood.
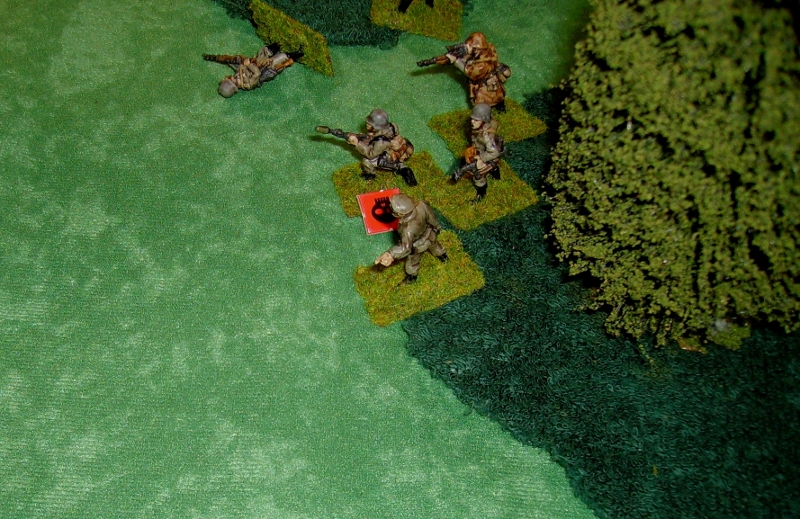
Phil and Ian were busy setting up a defensive line opposite the StuG and its supporting infantry.

The Assault gun sped into the town centre, unable to see any of the Americans awaiting them.

To the left of the StuG, the majority of their supporting platoon began assaulting the buildings Lawrences men were hiding in.

Back on the main road, the other attacking German platoon came in sight on Ian's sections left.

Ian's men were busy shooting the infantry following the StuG.

The StuG was hit by small arms from all sides, which killed the StuG gunner and one of the men riding on it, the bazooka round bounced off!

The German command group, meanwhile, crossed the open ground in pursuit of my section.

My men were stuck with nowhere to retreat....

My only option was to charge! - surprised, the German officer was captured and another killed!

More infantry were attacking the crossroads, the StuG retired to cover but took another hit from the bazooka which ruptured its diesel fuel tank. The StuG retired from the action.
Its supporting infantry, unsupported, came under heavy fire from the town.

Meanwhile, in the terraced houses, the Germans were trying to climb the stairs, but were held by American grenades and small arms fire!

The fighting was brutal, but the Yanks held!

My squad, having forced the command squad to retreat..

...now fired on the other command group advancing on the crossroads.
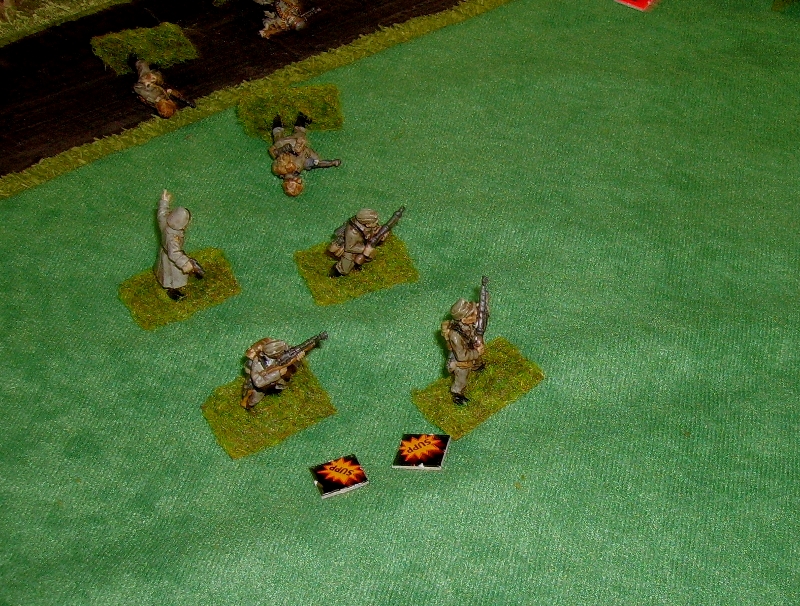
A 30 cal and half a dozen rifles made short work of them.

The Germans in the terrace were running out of men, they began to fall back.


By now, the platoon on the road was beginning its attack, Ian's men fell back to the town.

The same tactic worked again, the Americans kept low till the Germans were in short range..then cut them down before the Germans could see them.

The Germans were in a no win situation now and broke off the action, with surprisingly few casualties, the Americans had won!
Incidentally, the rules used are available at: Tyneside wargames club downloads
Incidentally, the rules used are available at: Tyneside wargames club downloads


