Today, I returned to Stargate gaming for my regular solo wargaming fix!
(It will be great to get back to club gaming when the Plague is over...)
The second game of the two I played today is the one I am focusing on, for obvious reasons as, I hope, will be apparent!
The scenario is an SG team trying to get back to the Stargate and safety, having stirred up a hornets nest of Jaffa during a recon mission.
---------------------------------------------------------------------------------
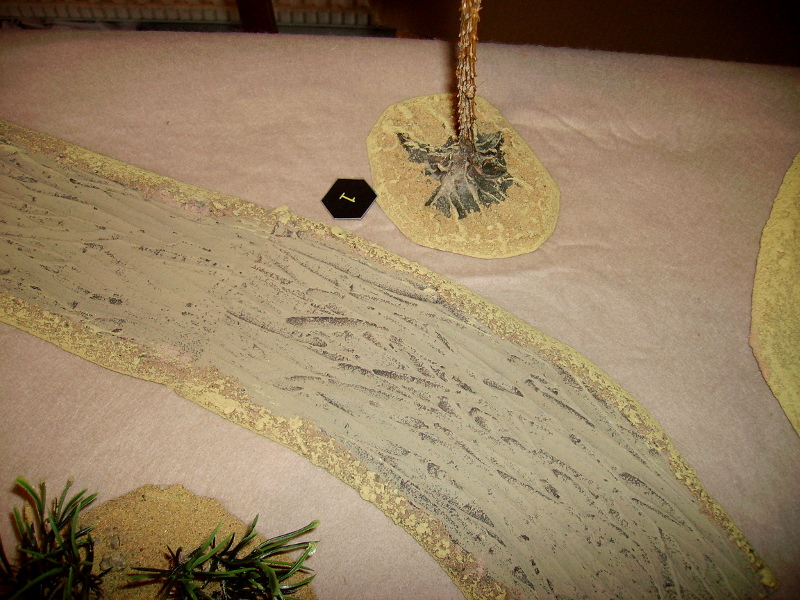
Our brave heroes enter the battlefield, they must stay on the road until they see any enemy...

Looks easy, just a quick jaunt down the road and dial home!

As ever, I had Portal Markers in position covering all approaches to the Stargate.


The 3 forward ones could see the Tau'ri, so were activated.

A six on the D6! - This would definitely bring some opposition on!

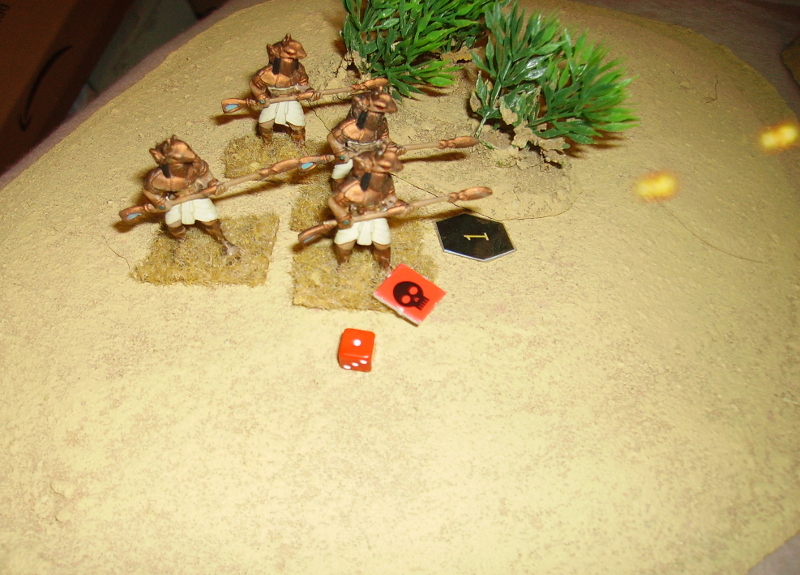
Six Horus guards appeared, and fired at my men.

The team ran behind a hill.

This also forced the Portal Marker that had been there to move back.

The Jaffa continued up the road looking for my SG team.

I placed them in an ambush position.

The Jaffa must have guessed my move and turned to engage.

Four more Jaffa appeared on the hill behind them.

The ambushers were ambushed! - but fired back furiously!

Several Jaffa from the front group were killed, the rest went to cover.

The Jaffa on the hill rolled a 20 on the D20!

...but only managed to suppress one of my guys.

My return fire was disrupted though, and I only managed to wound one of the Jaffa.

The rallied survivors of the first group now attacked again!

We shot one of them but one of my men was wounded in return, though not too badly.

After killing another one of the Jaffa, the survivor ran.

The Jaffa on the hill now were free to re-engage.
Another suppression! I was lucky!

I managed to wound another Hurus-guard.

The brave Jaffa continued firing...

...and suppressed another of my men.

My return fire was luckier, and I killed another Jaffa.

The survivors retreated off table.

To my surprise, they were replaced by another group of four!

These fired with gusto...

...but failed to hit anything.

My return fire was very effective...

...and these Hasshak fled to face the fury of their 'god'.

Before any more Jaffa could appear, I sent my men round the flank keeping to cover. We were slowed by my wounded man.

We managed to slip past the compound unseen.

We reached a position alongside the gate, we would have to clear the gate area to dial out safely.

My men split up and recced the gate area, trying to shepherd the Portal Markers away.

Indeed, several were forced back down the road...

...and behind trees...

...this would make any Jaffa reinforcements appear at a distance.

I sent my men to pressure them further...

...and had my wounded man get to the DHD.

The Portal Markers had been corralled behind the gate.

At last, the Stargate activated.

I prepared to get my men to safety.

Eight more Jaffa entered from behind the Stargate.

My men ran to cover as several staff weapon bolts dissipated on the 'puddle'.

Checking we were all together...

...we exited to safety...and a cool beer!

The First Game
Our men entered and went down the road, a '1' on the Portal Marker dice ensured nothing appeared to interfere.

We continued down the road, again, nothing happened!

The Portal dice made all bypassed Portal Markers fall back in front of my men...

But failed to generate any Jaffa!

My men reached the Dial-Home-Device without incident...

...and made our 'escape'!

This game just goes to show that dice are fickle beasts, and can create the most bizarre situations!
The second game was fun though!!!
Excellent stuff! Good to see some SG1 action again. Mark
ReplyDeleteThanks Pal! I am getting a lot of fun doing it too!
Delete