Today, we tried a newly modified version of my Seven Years War rules, as I felt the last few games lacked a little of the 'feel' of 7YW battles.
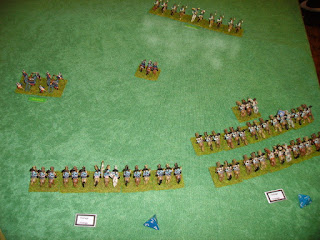
I used the same Prussian army as the last 2 games, Lawrence deployed his Austrians.


I used the same Prussian army as the last 2 games, Lawrence deployed his Austrians.
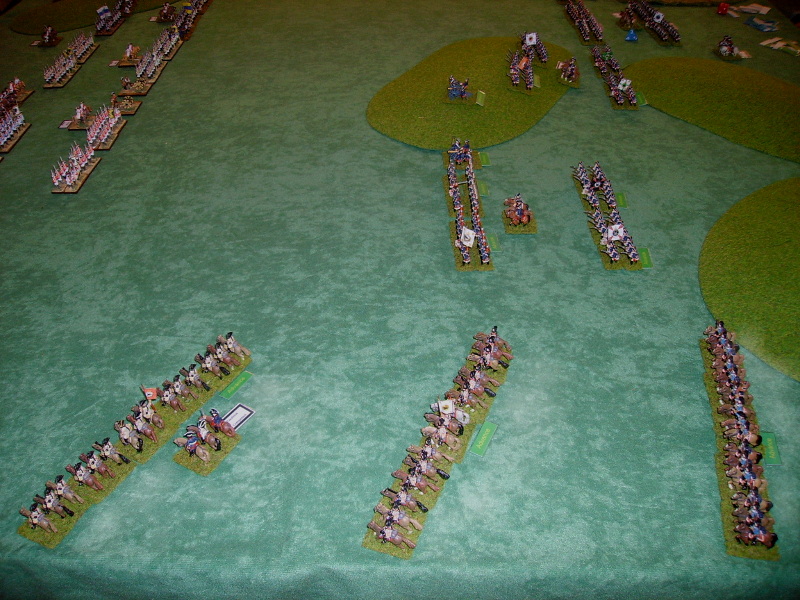
My Prussians outscouted the Austrians (!!!) and got to deploy right across the table, Lawrence got to choose side.

I had 2 small cavalry brigades on the right...

...2 brigades of infantry supported with 2 medium guns...

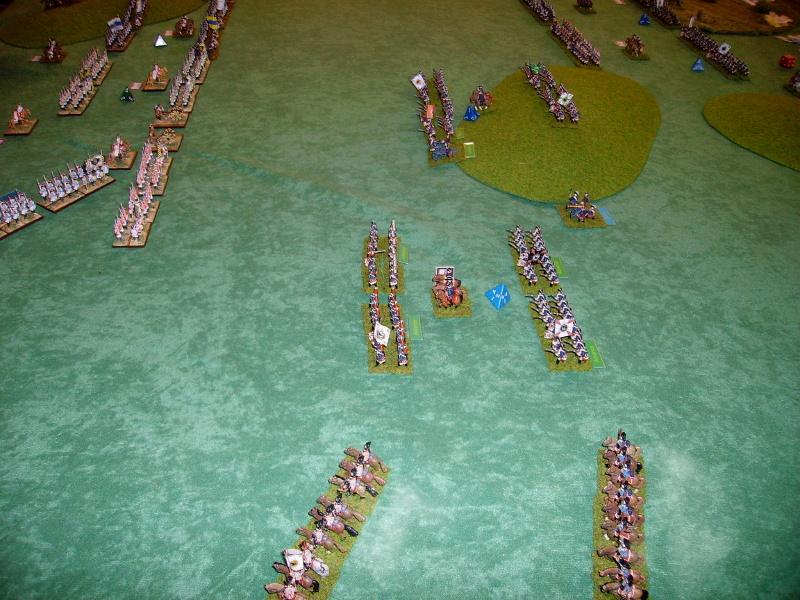
Phil, using Frederick the Great, had a cavalry brigade on the left and 2 infantry brigades, supported with a Heavy gun and a light gun.

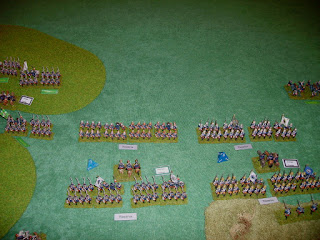
Lawrence had a wing of Austrians, though his cavalry had a cautious and incompetent brigadier in charge.

On his left, he put a strong Reichsarmee cavalry wing and a good line of infantry, all supported with guns.

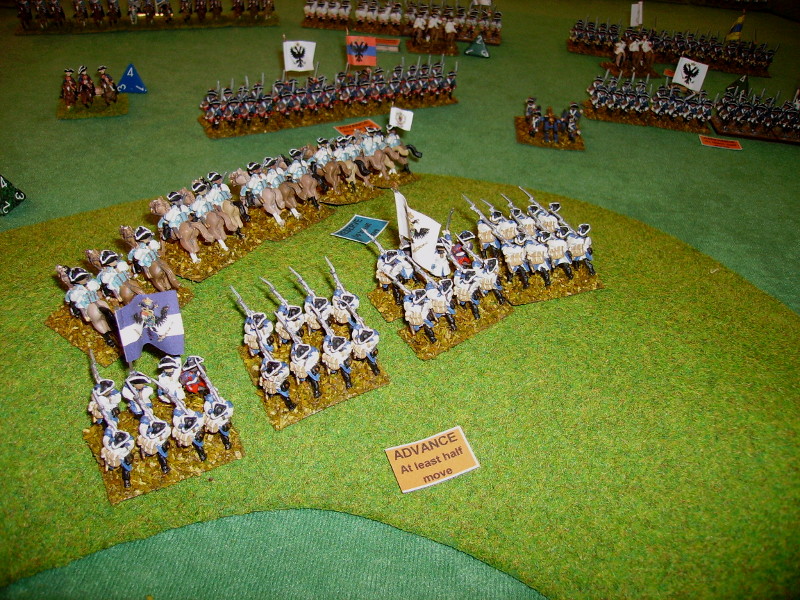
(The view from behind the Austrian line)
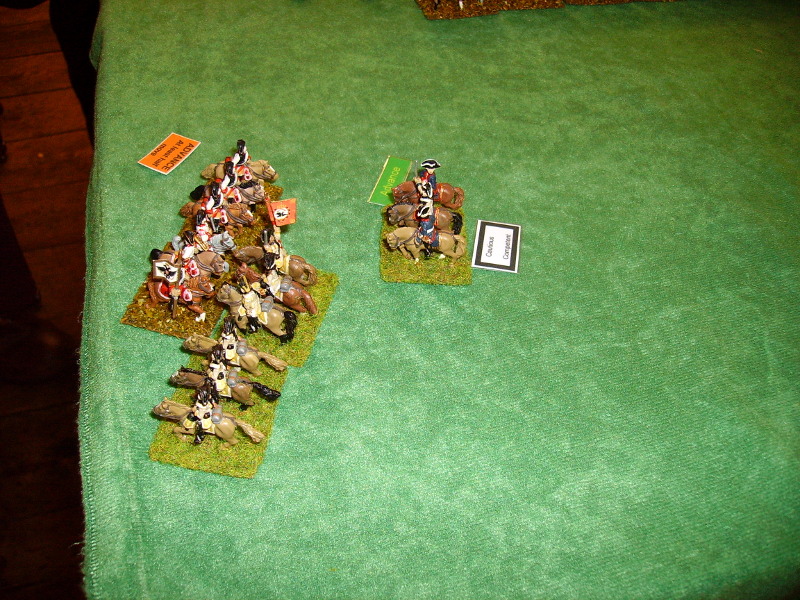
Seydlitz, my rightmost cavalry commander, refused to move at all! - the other cavalry brigade managed to send my Hussars forward!

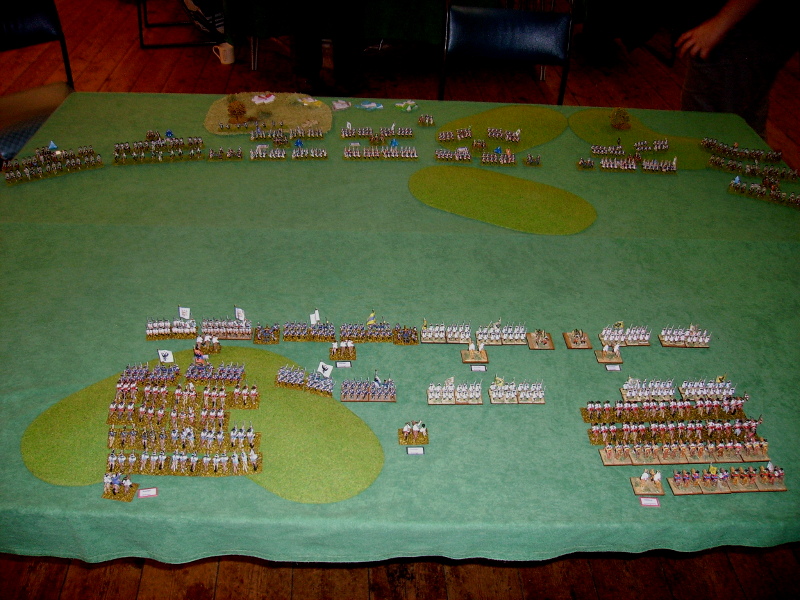
I advanced my guns, but kept my infantry in position, I had discussed our plan with Phil and was being held back.

Phil advanced his infantry in echelon...
...hoping to pin the enemy infantry while his cavalry attacked the Austrian horse.
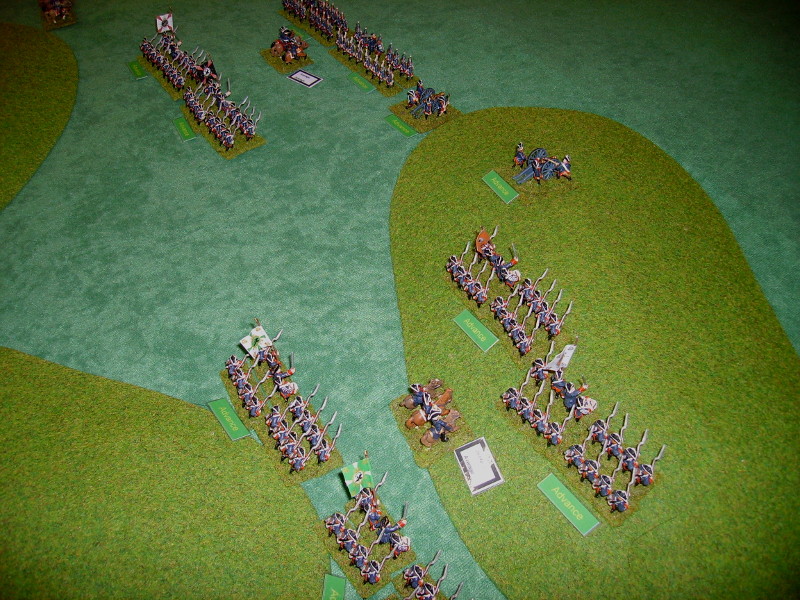
The way seemed clear for the Prussian Kuirassiers...

The Austrian horse was immobile, as their poor brigadier dithered.

The Austrian commander in chief galloped over to prevent a disaster.

He also got Regiment Bretlach to move out and face the Prussian onslaught.

On my flank, my Hussars raced to try and attack the Reichs horse deploying.

The rest of my cavalry were now moving to support them.

Phil also hoped to engage the Austrian infantry before they could sort themselves out.
Phil got his first Kuirassier regiment into position to attack Bretlach as the Austrian Kuirassiers formed up after their flank march.

The Austrian infantry screening their cavalry was moving to deploy their second line to support the front line, but in doing so they impeded their cavalry.

On my flank, the Austrian artillery was firing at long range.

My Hussars were surprised by the reserve Reichs cavalry deploying on a hill on their flank.

To the Austrians' surprise, the Hussars veered left to face them...

...before charging in!-- Naturally, the Hussars failed miserably and were soon in flight pursued by the Reichs cavalry!

My supporting Kurassiers and Dragoons moved up to try and support them.

Phil's Kuirassiers met Bretlach while they were not yet fully formed, and amazingly the Austrians held the charge!

The Austrian infantry were now stopping Phil's dragoons from outflanking them.

Phil's Grenadiers began engaging the Austrians.

...as did his musketeers.

The Prussian and Austrian Kuirassiers were now fighting a confused melee!

An Austrian gun - up till now ineffective, now found the range...

...disordering one of my Grenadier battalions.

The Reichs cavalry now got a reinforcement as Regiment Blau-Würzburg appeared from behind a hill.
Phil's musketeers destroyed an Austrian regiment.

His Kuirassiers were gradually reducing regiment Bretlach...
...and pursued them off table.

Phil's next Kuirassier regiment met Austrian regiment Trauttmansdorff, but both units again failed to break into each other!

Badly mauled, both sides fell back to reform.

My infantry now advanced...

... and drove off a Reichsarmee regiment which disrupted their second line.

Lawrence now sent another cavalry regiment to face Phil's exhausted cavalry.

The Austrian infantry drove off Phil's front line units. The left of the Prussian line was now looking at risk.

My Kuirassiers charged Lawrence's Reichs cavalry who had exposed their flank while chasing off my Hussars, and routed them... which disordered the cavalry behind them!

My Kuirassiers now followed up, and the disordered Reichs Kuirassiers panicked and retreated off table.

With my infantry in better shape than the Reichs infantry facing them, and his left wing horse in disarray, albeit temporarily, Lawrence decided to give us the victory!
Another hard fought win for the King of Prussia!
Good looking battle! I think I will read thought your rules.
ReplyDeleteThanks Jonathan! --You can use figures based differently than on WRG sized bases, just mark bases lost as casualties behind the unit.
ReplyDelete