I have done a game today to demonstrate in detail how my solo rules work in practice.
I did a small Colonial game to do this, and a simple scenario, where a small party of the 24th foot are defending a supply dump, when a company of Zulus arrives...


I did a small Colonial game to do this, and a simple scenario, where a small party of the 24th foot are defending a supply dump, when a company of Zulus arrives...
Our little band of Heroes, behind their Mealie bags.

"Well, Bloody well count 'em again"

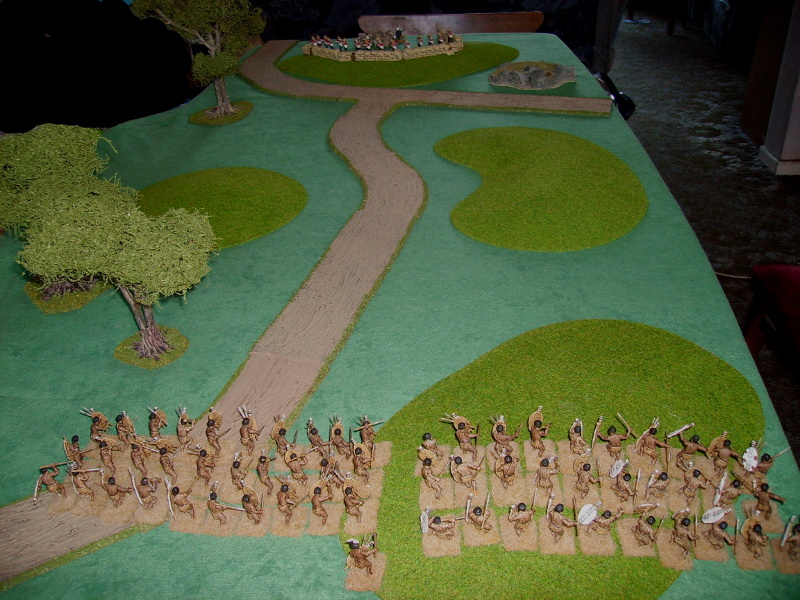
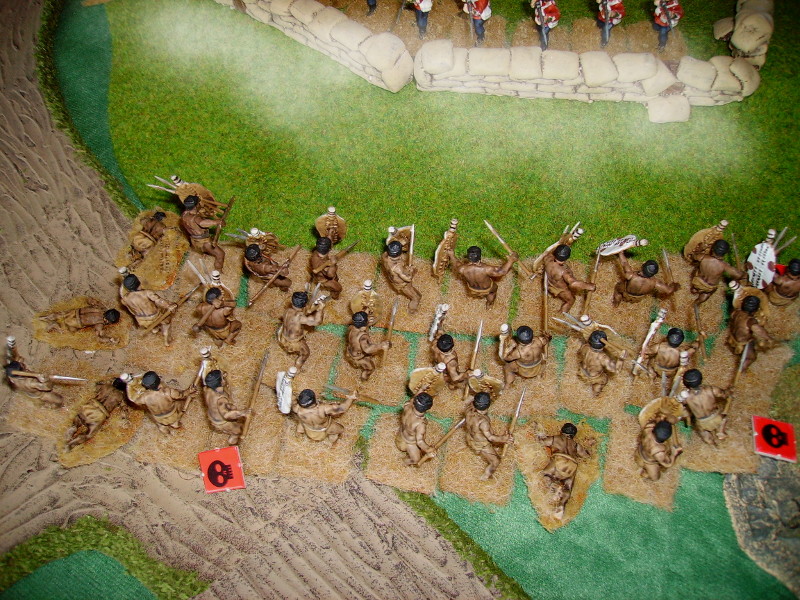
60 Zulus, with their Induna, appear.

The scene is set for an epic battle!
These are the rules I am demonstrating.

One Quick Reference sheet covers movement and combat etc.

The other is the solo rules, this side shows the Risk Factors used to determine a unit's morale and chosen actions.

The other side has a table - the total Risk Factors are cross referenced on the chart to see what the unit will do. There are different tables for missile troops and melee troops so they act more akin to their type!

The forces I command are subject to the same solo rules, but I can override the chart results (if they are blue italic) -if I can throw a high enough score on my command dice. As an officer of experience, I get 3D6, My Sergeant is an old salt, and gets me another 3D6. The unit is commanded by me if the total die roll equals the number of men in the group, and their NCO, if I don't activate the NCO, I don't get his extra 3D6!

So, I throw my command dice -- 16, 15 men and 1 NCO, just made it! Had I failed, they may have done something silly......!!! - they also fire less well.

I throw my D8's for all 15 men firing, if my Sergeant or I choose to join in shooting, we lose 1D6 from our command dice, so its a risky thing to do, I will just keep shouting at and encouraging my men!

We shoot!

Zulus Die!

The Zulu turn. We consult the solo chart and add up the factors, in this case, we get a Risk factor of 2....

I throw a paltry 1 on the die, this would normally mean the unit would halt...

...but with the Induna near, he adds 1 to their die result, which ups them to 'Advance' so both units advance closer to the British defences.

My command rolls, I pass with ease...

... everyone shoots effectively.

5 kills, 2 woundings and 2 insignificant grazes! (6 missed)

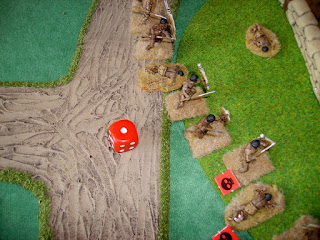
The wounded Zulus are falling a little behind.

1 poor Zulu got a kill and 2 wounds on him! - ah, the joys of random casualty allocation!

The other untouched Zulu band is getting close, I will have to start shooting at it soon...

Amazingly, the shot up unit gets a 6 on its dice!

I still haven't stopped it!

The damaged unit is still closing on my position!- the other has to halt.

My command rolls are still good...

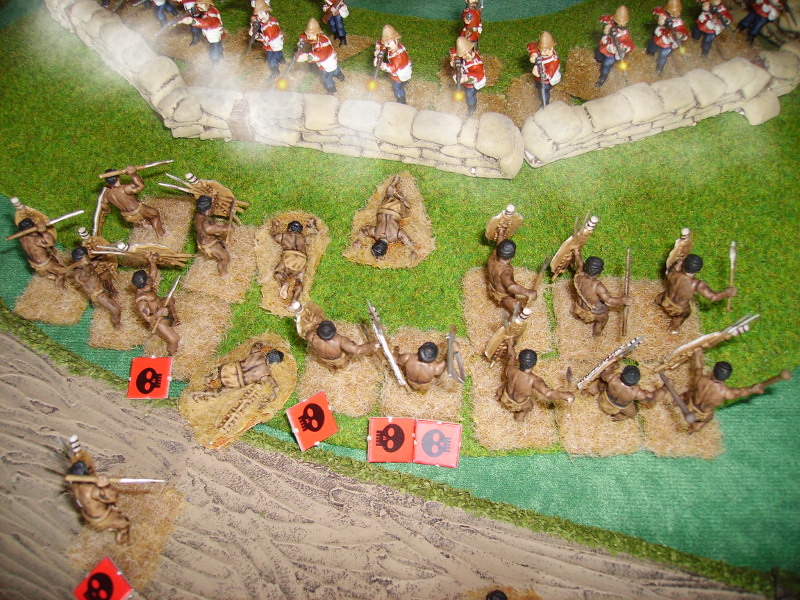
Another volley at the shot up unit, I have to stop it!

12 out of 15 hit at this range...

5 dead, 1 wound and 6 near misses! my men must be jittery!

More brave Zulus fall...

...but importantly, so does the Induna!

One of the Zulus fires his musket...

...a clean miss!

The untouched unit now throws a 1.

At RF1, this means it stays halted.

The shot up unit now has a 50% chance of halting or retreating, but rolls a 4...

Advance, which at this range, converts to Attack!

They then dice an extra 6cm movement, the maximum!

Usuthu! In they go!

With some good combat rolls, I drive them off.

A good job the other unit wasn't advancing too!

I stand in position

my command rolls are good.

We fire at point blank range at the recoiled Zulus...

...15 out of 15 hits, 7 dead, 4 wounded, and 4 near misses...

2 of the Zulus take most of the hits!
They are still on RF9 though...

...Even with a 5...

The Zulus retreat, they would have routed on 1-3!

The undamaged unit now rolls a 6...
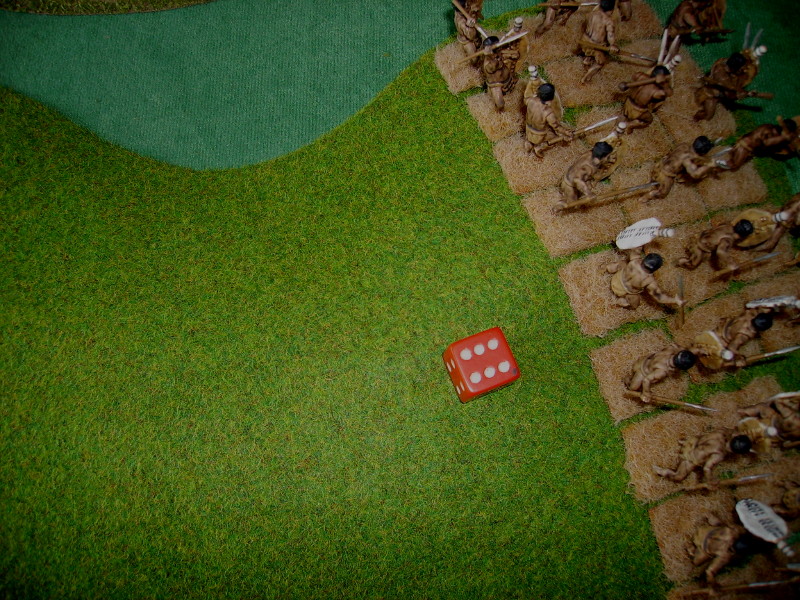
They advance, shooting.

The ball hits the Mealie bags, a near miss!


My command rolls are just good enough. I move some men over the barricade so they can shoot.

We fire!

Several Zulus fall or are wounded.
The first unit gets a 6 at RF9...

...and halts.

The second unit gets a 5...

...and charges in!

Some even vault the barricade on the flank!

In the open, one of my men is killed by a spear thrust.

We win overall though, and the Zulus fall back from the defences.

I decide to fire in my own defence, so we only throw 5 command dice. OK!

I fire, the Zulus look puzzled!

My men kill and wound more Zulus, they are better shots than me!

At RF8...

They throw a 1...

...and Rout!

All the Zulus flee.

My men raise a weary cheer!

In all, the Zulus lost 31 of 60, and the Induna.

I hope this has allowed you to see how the system works? I hope it gives you as much enjoyment as it does me!
Great run through!
ReplyDeleteYou know I use your rules already though...but I'm going to give the solo WoW/WoG ago with my VSF flyers standing in for the WW I planes everything else will stay the same :-)...
Thanks! If you are using the Colonial rules, they have now got a slight upgrade in the solo chart making natives act more unpredictably and - at least in my humble opinion - a bit more realistically!
DeleteGood luck with playing the VSF models!