Today, we decided to do a balanced game to try and work out some of the less than clear rules in the BTLB2 rulebook.
We have had several games disrupted by trying to work out how the rules work in different situations, so decided to push the envelope a bit!
We all worked out a force of 4 battalions and 4 squadrons to use, and an extra 10pts (from my BTLB2 points system)


We have had several games disrupted by trying to work out how the rules work in different situations, so decided to push the envelope a bit!
We all worked out a force of 4 battalions and 4 squadrons to use, and an extra 10pts (from my BTLB2 points system)
I deployed 2 elite squadrons (Gendarmes de France) supported by 2 normal squadrons on our right flank.
I had 2 elite (Gardes Francaise) battalions with an Irish and French battalions behind them. On my left, Rod deployed a similar group of Battalions.
His cavalry were Bavarian, 3 squadrons of Regiment D'Arco (Kuirassier) and the single Guard squadron Hartischer behind.
Opposite my cavalry, Ian deployed 4 Austrian Kuirassier squadrons. To their right was 4 battalions of Austrian infantry.
To their right, opposite Rod, Lawrence deployed 4 British battalions...
...and 4 squadrons of Danish horse, behind a wood.
At game start, the Austrians advanced on me.
The British advanced on Rod.
Rod's cavalry advanced in echelon.
His infantry moved forward in their support. My French infantry could not move...no matter.
I had my horse moving to engage the Austrian Kuirassiers.
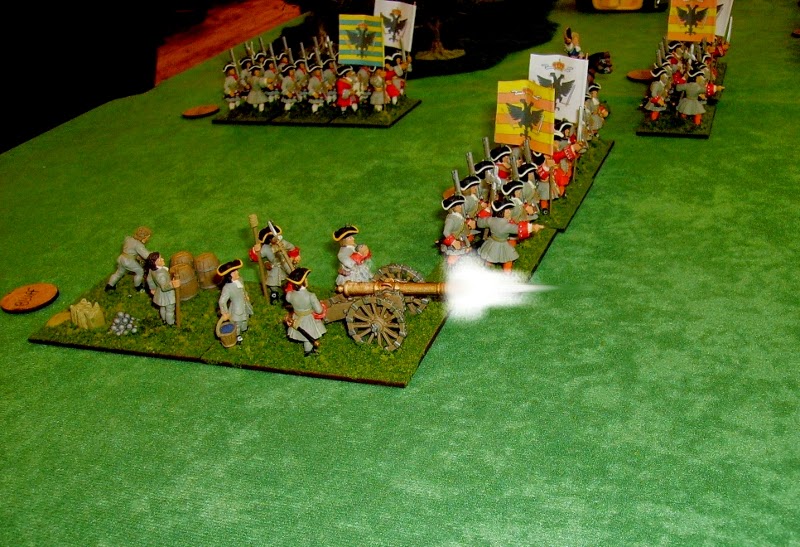
Ian's gun was in range...
A single casualty made Rod's German regiment Greder shaken! The first die roll of 1, we were to see more!
My Gendarmes Ecossaise charged an elite Austrian squadron.
Ian's second unit tried and failed to reach my Gendarmes Anglaises.
My Gendarmes Ecossaise failed to hit the Austrians and were massacred!
The lone survivor routed!
The Bavarians on the other side were steering clear of the advancing British infantry, and were forced to attack via the wood.
The Danish behind the wood were happy to wait there.
The British infantry began to expand into 2 lines.
The Austrians on my flank, almost had nothing to do...
... as their front squadrons of horse cut through my Gendarmes.
Only my Metropolitan squadrons of Regiments Cosse and D'Orleans remained!
The Bavarian cavalry pushed on through the light woods.
My 2 remaining squadrons failed to charge (more 1's) - and were swept away.
The Austrians came round my flank, almost intact.
Fortunately, earlier, having seen how things were going, our gun had turned to protect the collapsing flank. A single shot routed the lead Austrian squadron!
The Austrian infantry now advanced, and my French infantry advanced to counter them.
Rod was already in a firefight with the Platoon firing British...and losing.
Curiously, his horse got trapped in the wood, and his Guard horse turned to threaten the flank of the British, but they were too few.
With our position collapsing, the French called it a day and withdrew.
When the dice are against you, you are powerless to resist!
The game brought up some interesting situations the rules were unclear on. That was the point of the game.
I think the game was less satisfying than most as I never threw a 6 all day, and at least 80% of my rolls were 1 or 2!
We all have days like this! Ah well, never mind, there's always another game to look forward to!
I love those damage counters. Where did you get them?
ReplyDeleteHi there!
DeleteThe damage counters are from Warbases. I painted the tops green so they would blend in a bit on the green cloth!
Looked a great game, shame about the dodgy dice, they can be a right pain sometimes, but at least you had fun!
ReplyDeleteHi Ray!
ReplyDeleteYes, that was my worst dice day...ever!
Next game they have to be better, right?
Colorful and beautiful!
ReplyDelete