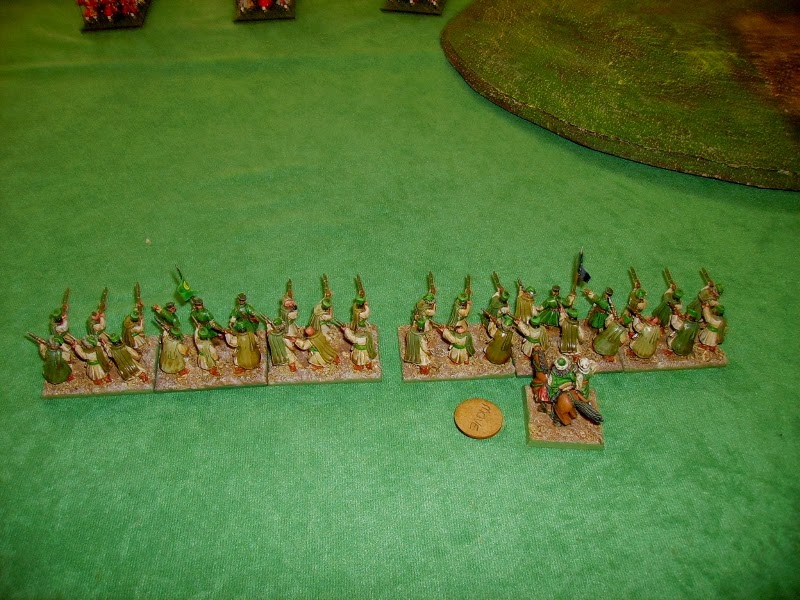
Today, we tried another game of Beneath the Lily Banners and tried elite/raw troops, together with Blade cavalry, to see how the different types act under these rules.
Phil had brought his Turks, and Ian joined him with some Danish troops, Lawrence and I had a purely Austrian force.
Phil had brought his Turks, and Ian joined him with some Danish troops, Lawrence and I had a purely Austrian force.
Lawrence deployed on the Austrian right, with a Kuirassier brigade to the right of his infantry brigade (1 elite and 2 drilled battalions and 1 raw battalion)
I held the Austrian left with a Kuirassier brigade to the right of an infantry brigade (3 drilled and 1 raw battalion, supported by a field gun)
Opposite me, Ian placed his infantry (2 elite and 2 drilled battalions supported by a light gun) and 2 squadrons of dragoons.
Phil, opposite Lawrence, deployed 2 Turkish drilled battalions...
On their left, 3 squadrons of elite, blade cavalry (ouch!)
..supported by camel gunners counting as another light gun.
The game started with my force advancing in line.
Ian, having a poor command roll, only advanced with 3 of his battalions.
On the other flank, Lawrence formed column to advance more quickly.
His Kuirassiers advanced toward the superior Turkic horse.
The Austrians continued to get excellent command rolls, and the advance continued.
Lawrences columns began to converge to avoid terrain.
The Austrian right wing cavalry attempted to charge.
The Turks were only able to countercharge, if they could!
In the end, only one Austrian squadron charged, and was met by a Turkish unit.
The Turks wiped the floor with the Austrians!
....then succeeded in not pursuing their routed remnants! The 2 remaining Austrian squadrons now managed to charge, and were countercharged too.
The Turks infantry, unable to move, awaited Lawrence's infantry.
Ian stayed in position, also hampered by the poor command rolls.
This allowed my infantry to manoeuvre with impunity.
My Field gun had a great dice day,
... and soon the Danish Guards were shaken by their losses to it.
Lawrence's infantry found they could not deploy both forward battalions into line as they had got too close together!
This left 1 battalion facing 2 Turkish ones.
Back with Lawrence's horsemen, the first unit also broke on contact.
Again, the Turks avoided pursuing them.
The other Kuirassier unit had also charged...
...and soon followed their broken colleagues.
This time, the Turks pursued, and dispersed the routers.
My Infantry was forming a 2 line formation.
The other elite Danish unit, joined by dismounted dragoons, moved to stop my cavalry which was threatening from the large central hill.
This protected the Turkish infantry who were easily winning the fire fight against Lawrence's hapless battalion!
Lawrence was threatened from his flank by the rallied Turkish cavalry...
At this point , it looked like a Danish/Turkish victory, so we called it a day.
The game had been quite fun, and instructive. I think we all learned more about how the BTLB2 system works!
Lessons learned included:
(1) Infantry need to be in 2 lines to count supported on the flank units of a brigade.
(2) Elite, and Blade classifications make cavalry VERY good against bullet horse and Kuirassiers.
(3) It is critical to keep advancing columns sufficiently apart to allow deployment into line.
These rules are still very enjoyable to play! - I am motivated to keep painting my Franco-Bavarians!


No comments:
Post a Comment